How to Set Canon Printer to Print Black Only? A Simple Guide!
Printers have become an essential part of both homes and workplaces, and Canon printers are known for their reliability and quality results. However, on certain occasions, you might want to save on color toner and only print using black. In whatever case you are printing documents, reports, or basic text documents, knowing how to set Canon printer to print black only will save your time, money, and resources. Often, users will run out of one of the colors in the cartridge; in such cases, it won’t print even if there is black ink in the color cartridge. Knowing the proper settings can save your day in even the most unexpected situations. In this tutorial, we will walk you through the steps, tips, and best practices for enabling black only printing on your Canon printer.
Why Choose Black-Only Printing?
Changing your printer to black ink only is not just about saving colored ink. There are a few rundown reasons why people prefer this.
- Cost-effective printing: Colored ink cartridges are more expensive, and by using it only in black, you reduce your costs on your replacement ink cartridge.
- Professional results: Black ink will always look cleaner and sharper for text. That is great for formal documents and reports.
- Efficient use of ink: If you only occasionally use colored ink, only using black prevents colored ink cartridges from going unused.
- Extended cartridge life: Simply eliminating color printing means your color cartridges will last longer, as you will not need to replace them as often.
Step-by-Step Guide to Set Canon Printer to Print Black Only
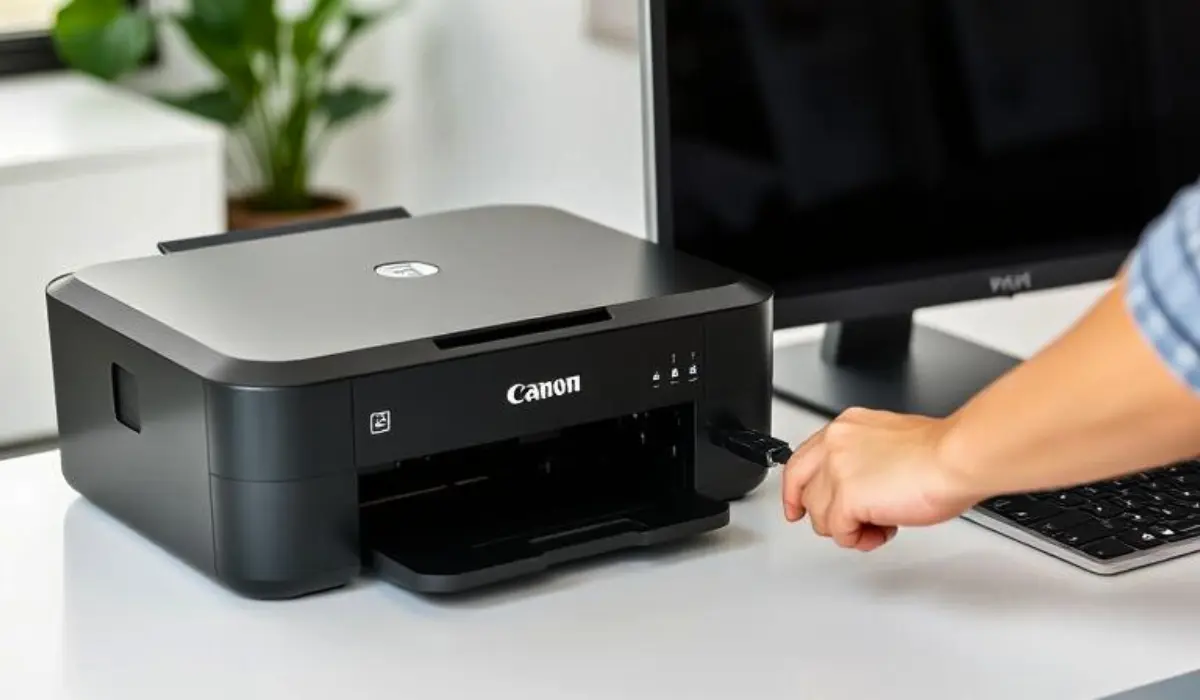
Step 1: Open Printer Preferences
- On your computer, go to the Control Panel or System Settings.
- Navigate to Devices and Printers (on Windows) or Printers & Scanners (on Mac).
- Right-click your Canon printer and select Printing Preferences.
Step 2: Select Black Ink Only Mode
- In the printer settings window, look for the Quality or Color Settings tab.
- Choose the option labeled Grayscale Printing or Black and White Printing.
- On some Canon models, you may need to check the Print using only black ink box.
Step 3: Apply and Save Settings
- Click Apply and then OK to save changes.
- These settings will now ensure all documents are printed in black only until you change them back.
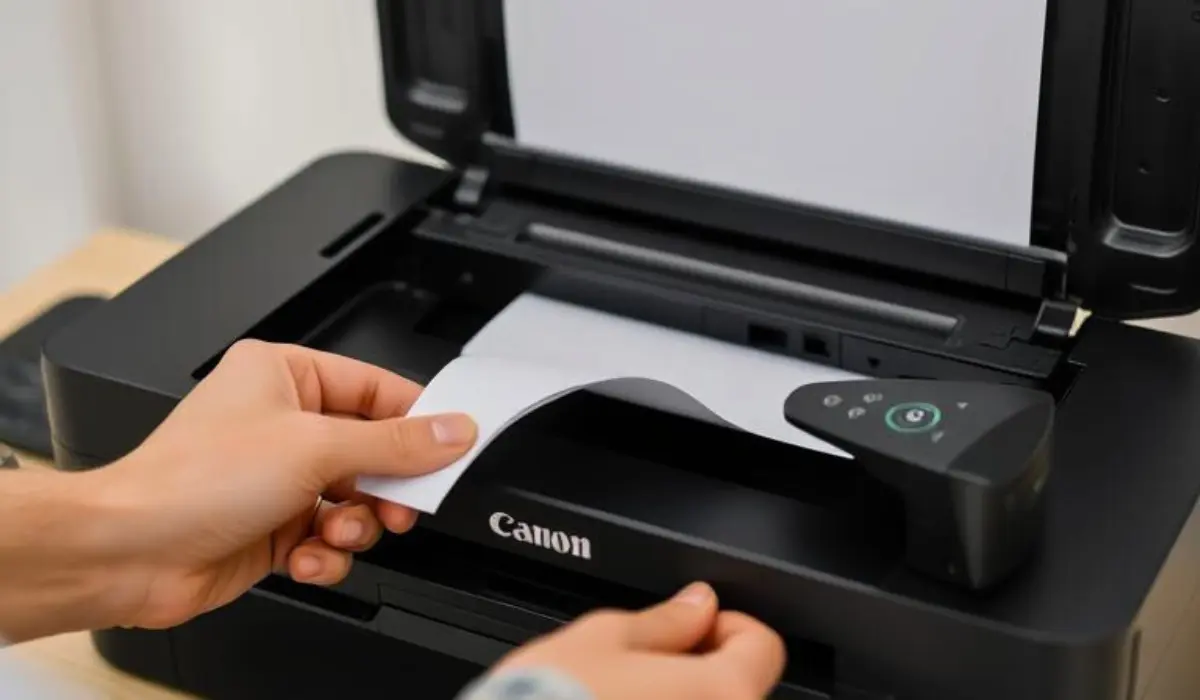
Step 4: Test the Print
- Open a sample document and click Print.
- Confirm that your Canon printer is producing black-only output as expected.
Adjusting Settings for Mac Users
For Mac users, the process may vary slightly:
- Open System Preferences and click Printers & Scanners.
- Select your Canon printer and open Print Queue.
- Go to Printer Settings and select Black & White or Grayscale.
- Save changes and test your print job.
Additional Tips to Ensure Smooth Printing
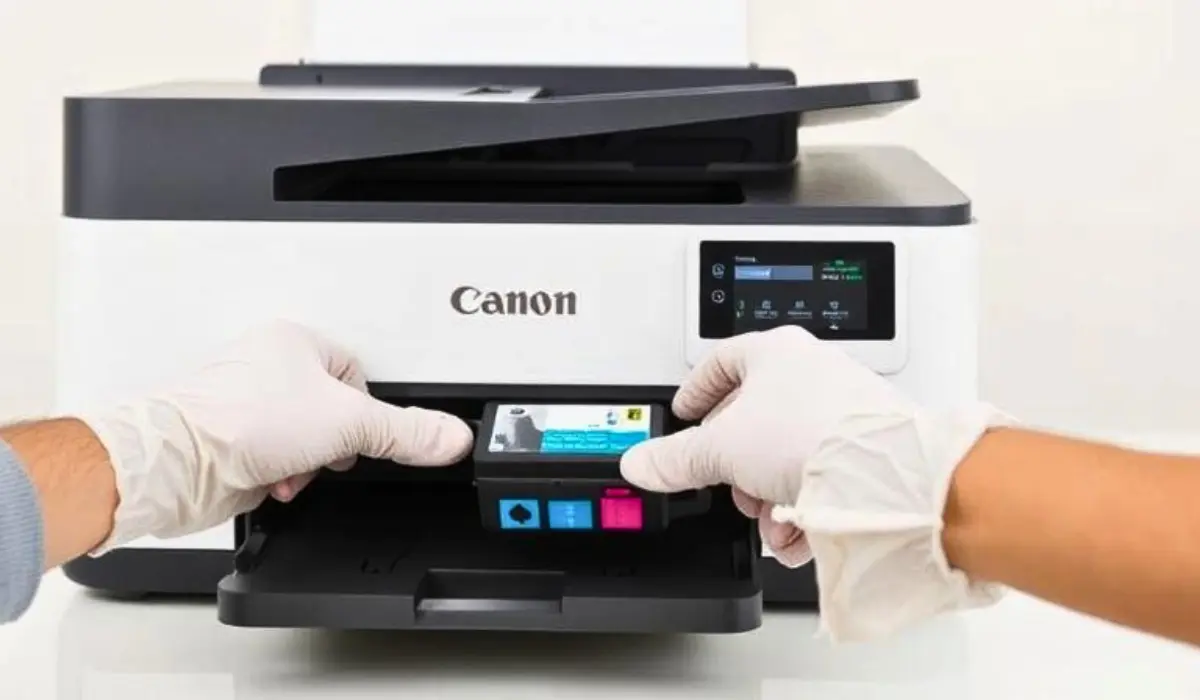
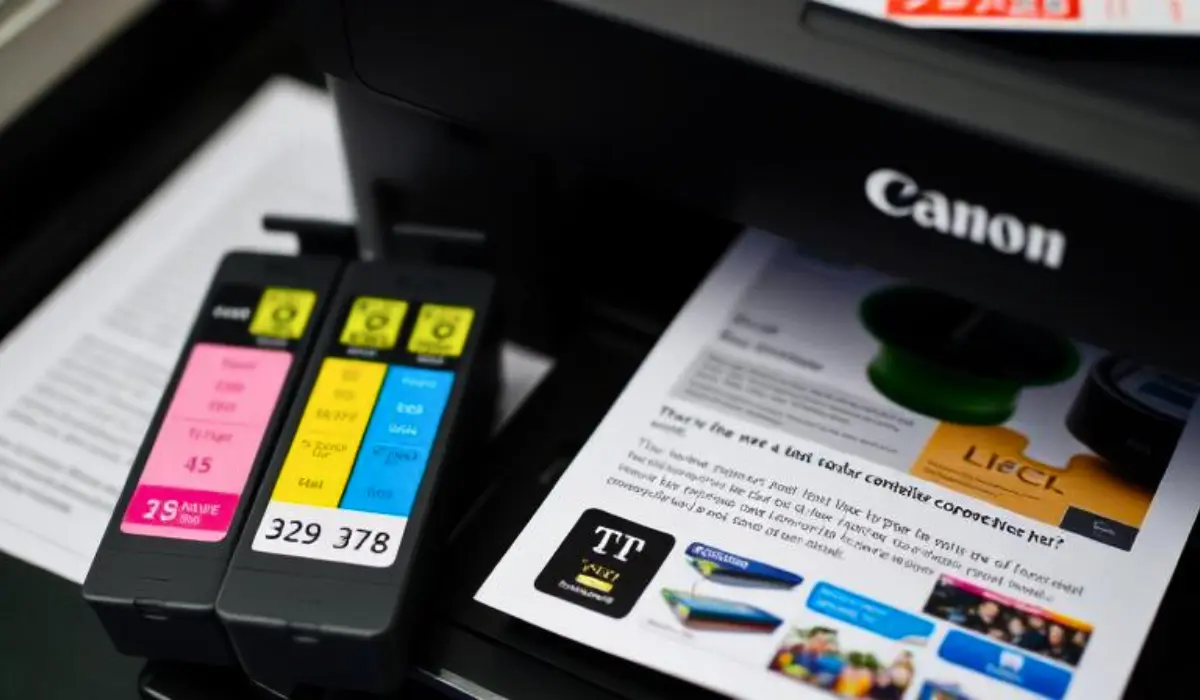
- Keep your drivers updated: Using an old version of a printer driver may contribute to the problem switching from black to color or color to black printing. You should download the latest version from Canon’s website.
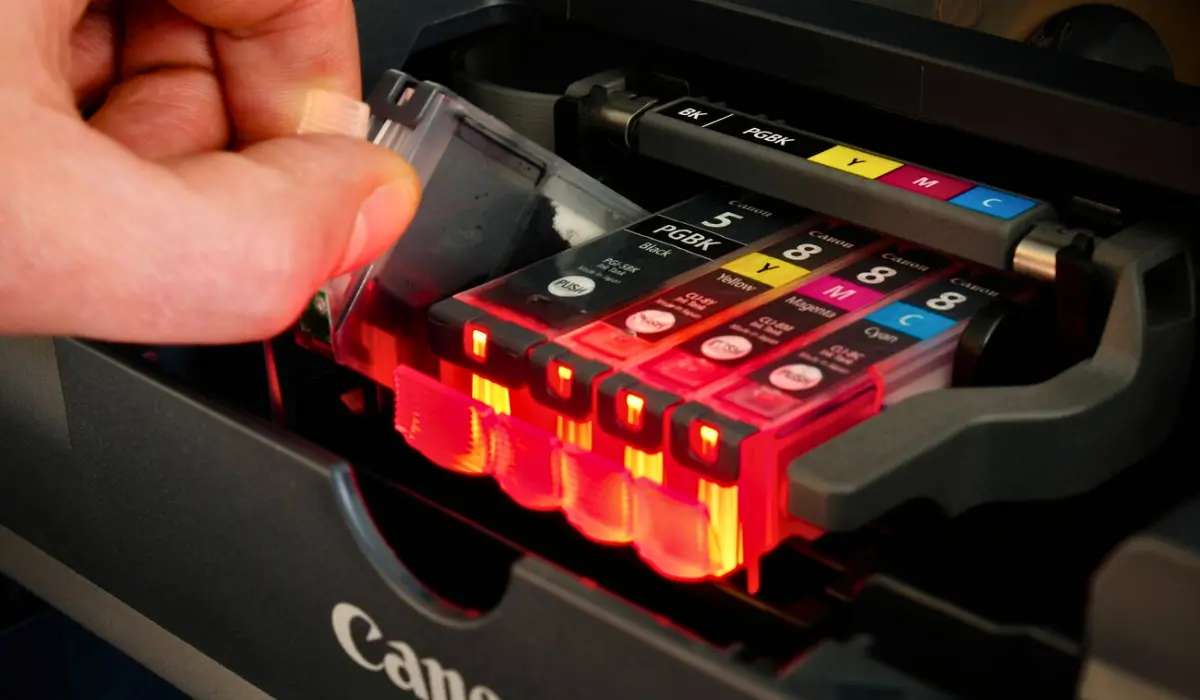
- Check ink levels: Some Canon printers may pull some color ink and print in black only. It is advisable to leave a minimal amount of color ink loaded to avoid errors.
- Use draft mode for simple documents: You only need a quick black-and-white text document; selecting Draft Quality will save you more ink.
- Adjust per-document settings: If you don’t want to leave black only printing on all the time, you could also set it for each document that you print in the Print Properties Window before printing.
Common Issues and Troubleshooting
- Printer still uses color ink: Some Canon models, regardless of what is selected, will use a combination of colors to improve the black. You have to make sure to choose Grayscale or Black Ink Only instead of automatic.
- Printer stops working when color cartridges are empty: Unfortunately, Canon printers may require all cartridges to be installed. So in this case, you will have to pay to refill or replace it, to be able to print in black, even if you only want to print black.
- Print quality is too light: Make sure you have enough ink in your black cartridge, and choose a quality setting in preferences that is the highest.
When Should You Switch Back to Color Printing?
Although black and white printing is the appropriate choice for documents, there are occasions when color printing is needed. Presentations, charts, infographics, or marketing materials, for instance, frequently need those extra colors to bring them to life. You may want to keep your printer set for both types so you can switch back and forth depending on your project.
Best Practices for Maintaining Your Canon Printer
- To prevent smudging and streaking, clean your printheads on a consistent basis.
- Every so often, perform a nozzle check to ensure a good flow of ink.
- Keep extra cartridges in a dry, cool place to maximize their shelf life.
- Make sure to print something in black at least once weekly to avoid ink from drying up.
Conclusion
Knowing how to set Canon printer to print black only is a useful skill to save money, save your color ink supply, and print your documents professionally. For students printing assignments, a business owner printing contracts, or someone who just wants crisp black text, this setting is very useful and saves ink.
You will find great tips in this article to easily switch your Canon printer printing preferences to print black and save unnecessary ink usage. Make sure to update any drivers, check your ink levels, and adjust your print settings according to your use. With a correct approach and attention to detail, your Canon printer will consistently print quality black text every time.