Blog
How to Connect Your Canon Printer to Your Computer?
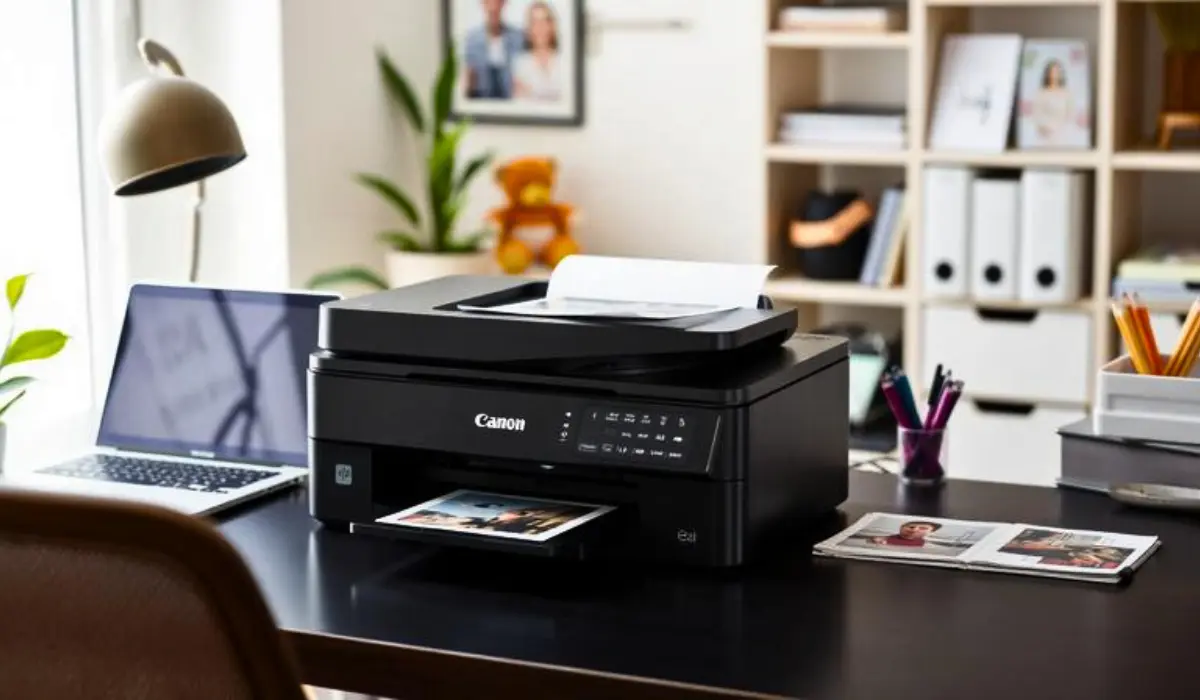
Setting up a new printer can sometimes feel overwhelming, especially if you are not familiar with the technical side of computers. Luckily, Canon has made the process of connecting their printers straightforward and user-friendly, whether you are working with a wired or wireless model. Knowing how to connect your Canon printer to your computer properly is important if you want to avoid unnecessary errors, delays, or repeated troubleshooting. This simple process allows you to print documents, photos, and files efficiently while making the most of the printer’s advanced features.
If you recently purchased a Canon printer and are unsure where to begin, this guide will help you understand every step of the process. By the end, you will know how to connect your Canon printer to your computer with ease and confidence, ensuring your device works smoothly for daily use.
Choosing the Right Connection Method
Before you start, it is important to know that Canon printers typically allow multiple ways of connecting to your computer. The most common options include:
-
USB connection for a direct and stable link between the printer and computer.
-
Wireless Wi-Fi setup for printing without cables, ideal for laptops and shared spaces.
-
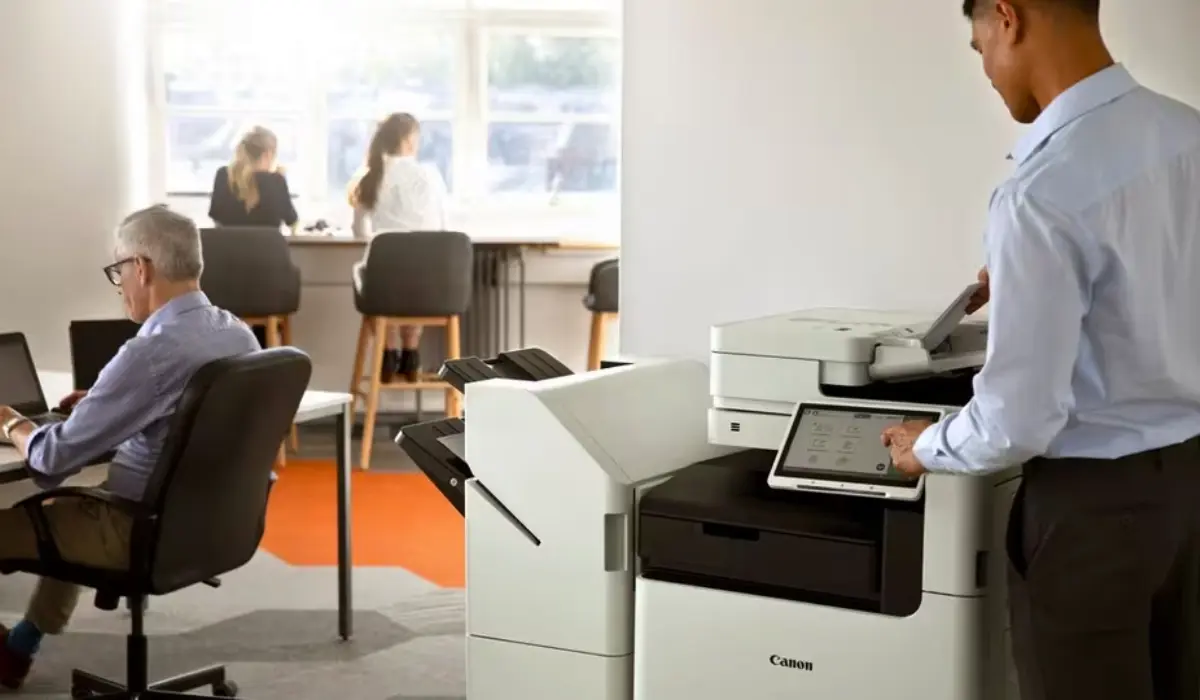
Ethernet connection for offices that prefer network-based printing with better speed and stability.
The method you choose will depend on your personal needs. For home use, wireless and USB are the most popular options. Offices may prefer Ethernet for shared use across multiple computers.
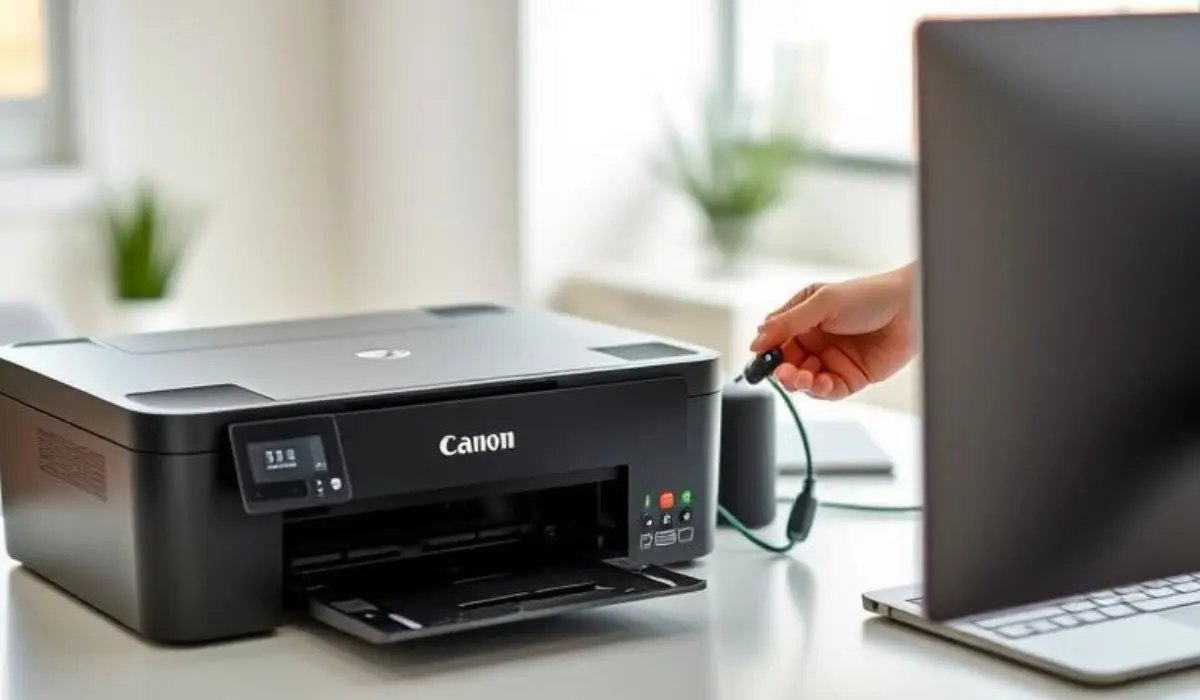
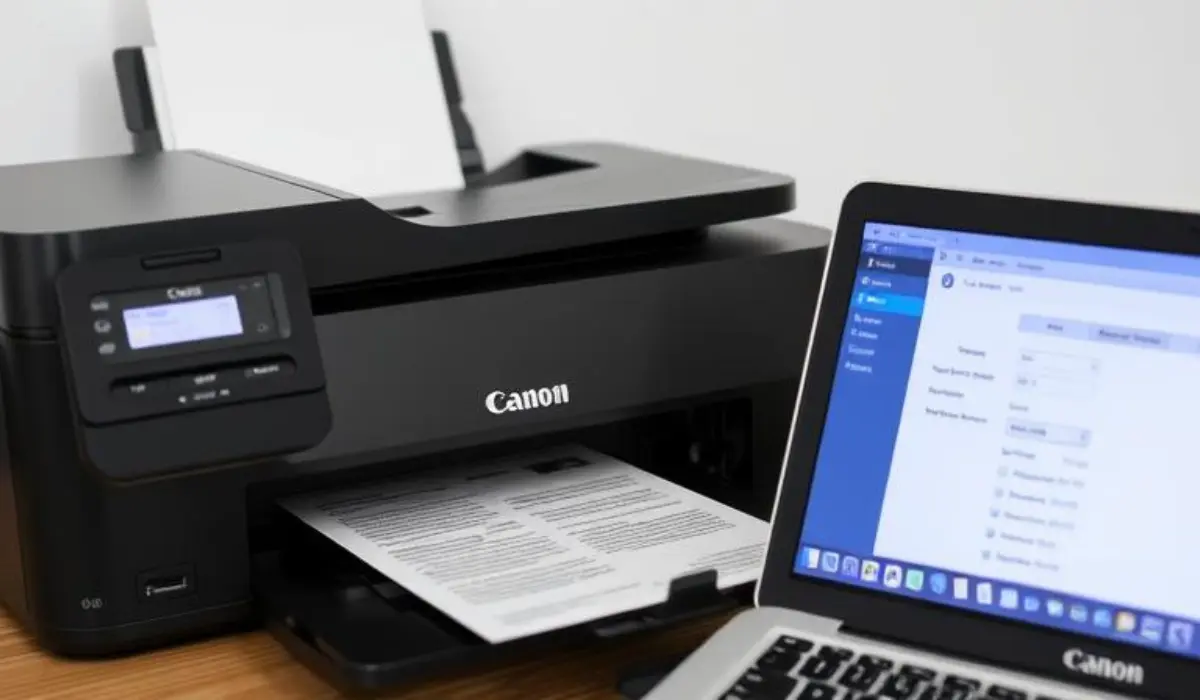
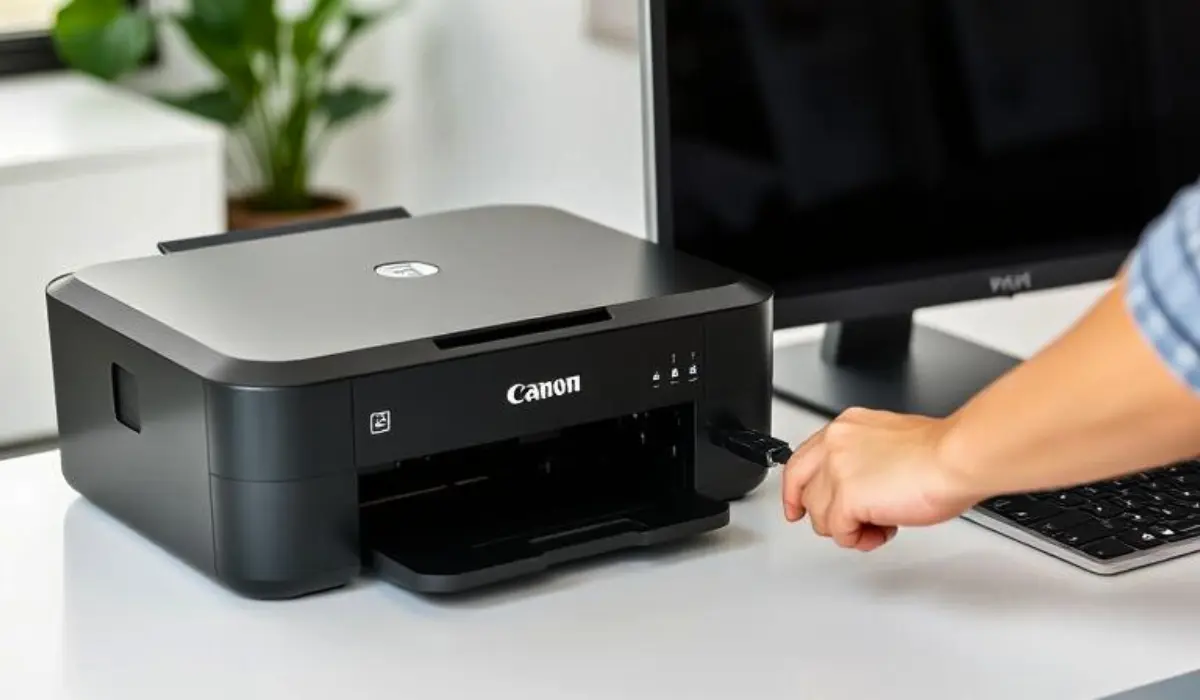
Step-by-Step Guide for USB Connection
If you want a simple setup, USB is the fastest way. Here’s how to do it:
- Place your Canon printer near your computer for easy cable connection.
- Plug the printer’s USB cable into the computer. Most modern devices automatically detect the printer.
- If drivers are not installed automatically, go to Canon’s official website and download the correct drivers for your printer model.
- Follow the installation instructions on your screen until the printer is ready to use.
This method is best if you want stability and do not mind keeping your printer close to the computer.
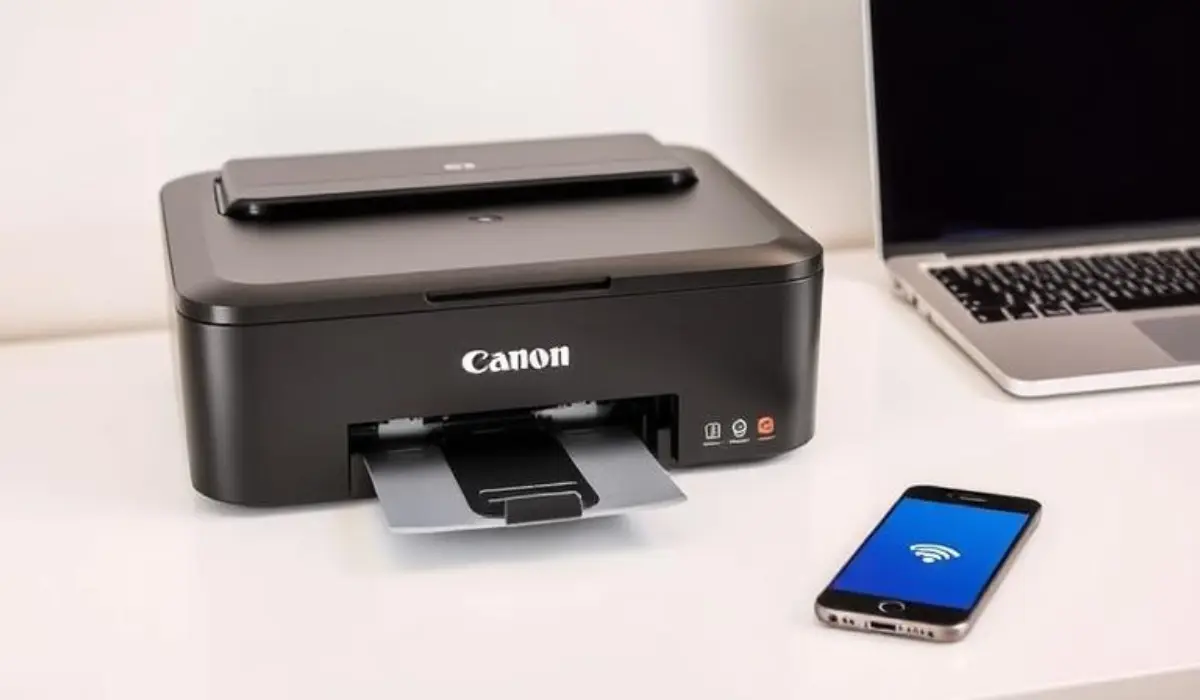
Step-by-Step Guide for Wireless Connection
Wireless connectivity is highly convenient because it allows you to print from anywhere in your home or office without cables. To connect your Canon printer wirelessly:
- Turn on your Canon printer and ensure it supports wireless printing.
- Use the printer’s control panel to open the Wi-Fi setup menu.
- Select your Wi-Fi network and enter the correct password.
- On your computer, download and install the Canon printer software or drivers if not already available.
- During the installation process, choose “Wireless Connection” as your preferred method.
- Complete the setup and test by printing a sample page.
Once completed, your printer will remain connected to your Wi-Fi network, making it easy to print from multiple devices.
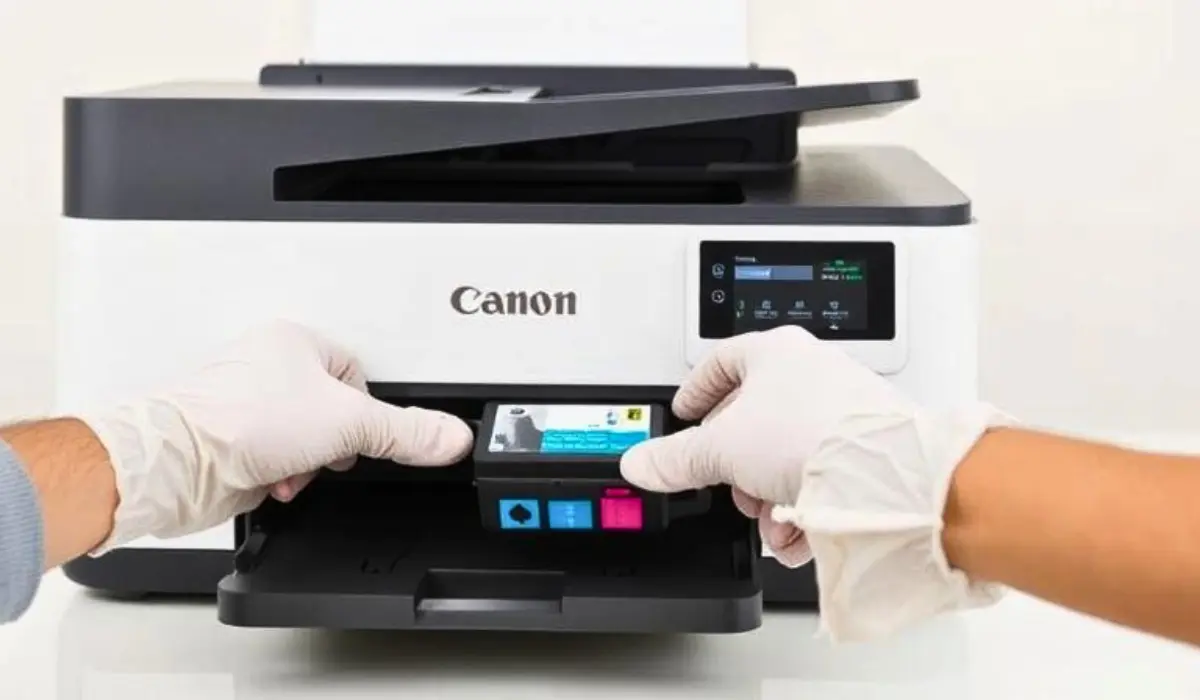
Installing Canon Printer Drivers and Software
No matter which connection method you choose, installing the proper drivers and software is essential for smooth performance. Drivers help your computer recognize the printer correctly and allow it to use advanced features such as double-sided printing, high-resolution images, or scanning. Always download drivers directly from Canon’s official support page to ensure they are safe, up-to-date, and compatible with your operating system.
Troubleshooting Common Issues
Sometimes you may face small issues during setup. Here are common problems and quick fixes:
-
Printer not detected via USB: Try using a different port or cable. Restart both the printer and the computer.
-
Wi-Fi connection failing: Ensure you entered the correct network password and that your printer is within range of the router.
-
Driver installation errors: Uninstall previous drivers and reinstall the latest version from Canon’s website.
-
Printer offline message: Check that the printer is powered on, connected to the right network, and set as the default printer on your computer.
Benefits of Connecting Properly
Taking the time to set up your Canon printer correctly offers several advantages:
-
Faster and smoother printing without repeated errors.
-
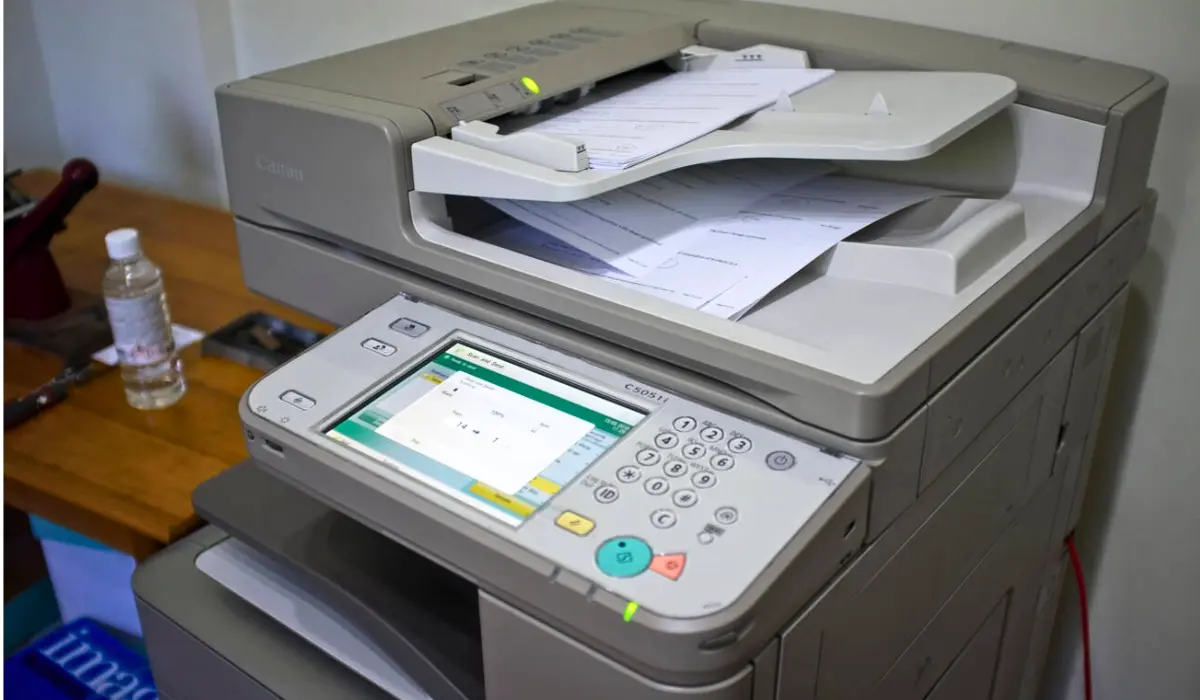
Access to advanced features like wireless printing, scanning, and cloud-based printing.
-
Improved compatibility with software updates and security patches.
-
Convenience of printing from multiple devices without having to reconnect each time.
Tips for a Better Printing Experience
To make the most out of your Canon printer after connecting it to your computer, here are a few helpful tips:
-
Keep your printer firmware and drivers updated for better performance.
-
Regularly clean print heads and run maintenance tasks to avoid quality issues.
-
For wireless users, place the printer closer to the Wi-Fi router to reduce disconnections.
-
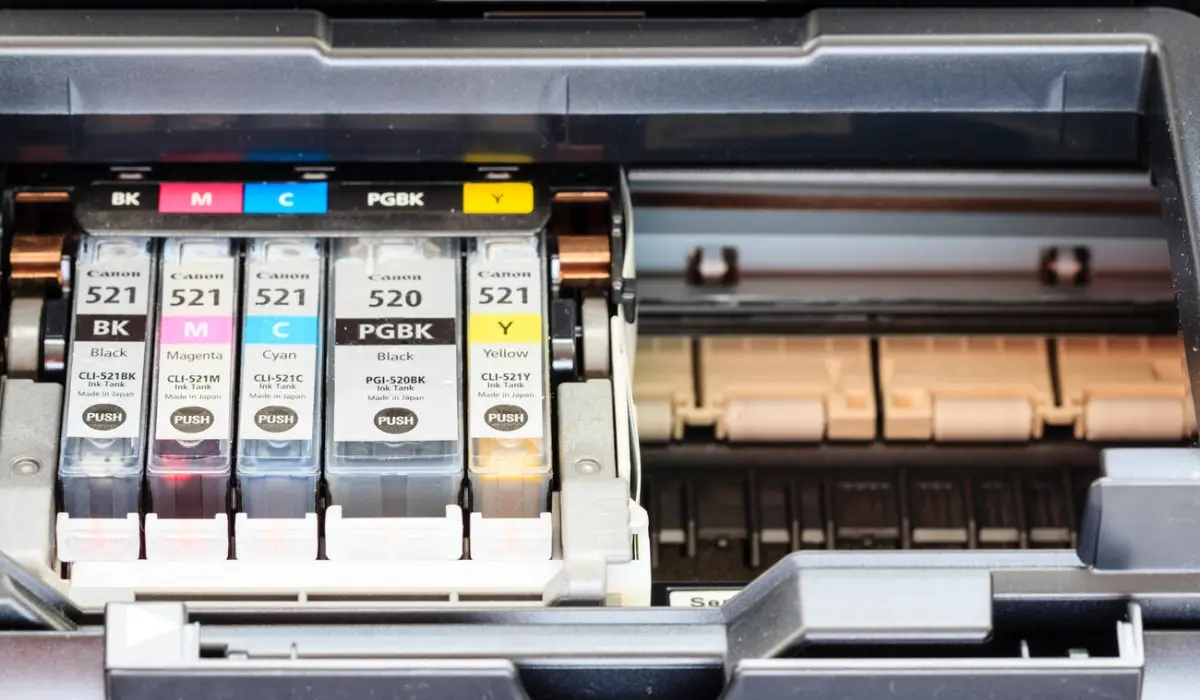
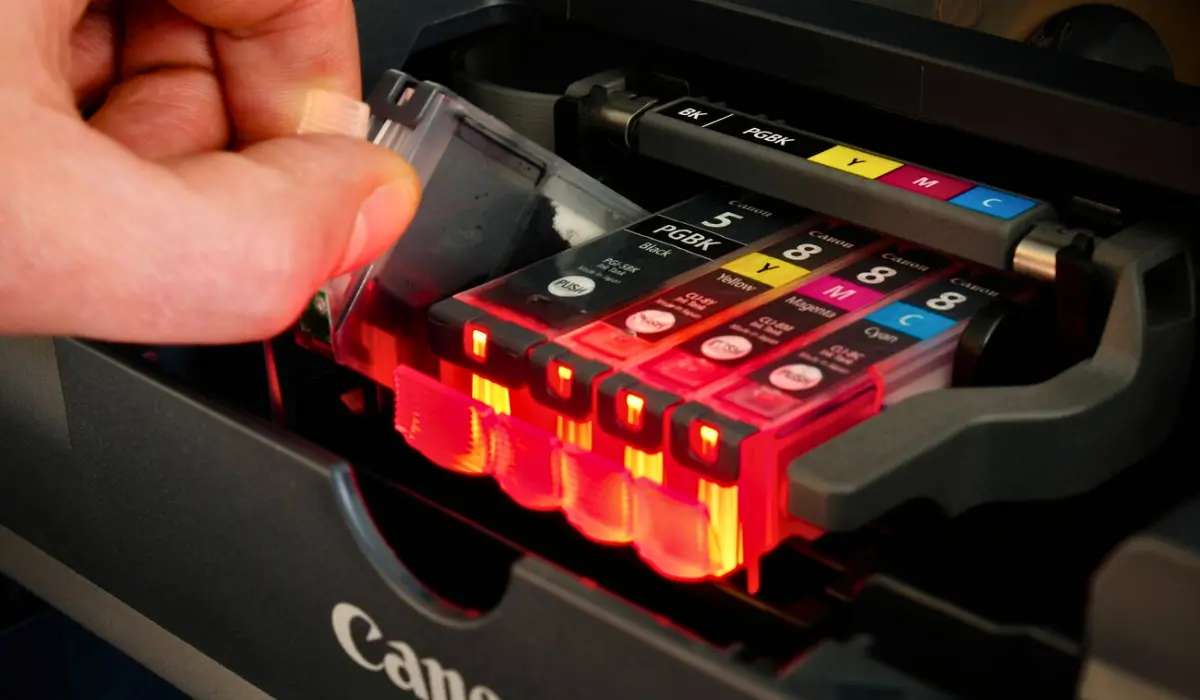
Use original Canon ink or toner for best quality and longer printer life.
Conclusion
Connecting your printer to a computer should not be a stressful process if you follow the right steps. Whether you use a USB cable for simplicity, wireless connection for flexibility, or Ethernet for office reliability, each method can be completed quickly with the right instructions. Installing the proper drivers and troubleshooting small issues ensures you get the best performance from your device. By learning how to connect your Canon printer to your computer, you make printing tasks more efficient and enjoyable while saving yourself from unnecessary frustration. Once properly set up, your Canon printer becomes a reliable partner for everyday work, photos, or office tasks, helping you achieve high-quality results with minimal effort.