Blog
How to Set Up a Canon Printer Wireless? Easy Connection Guide
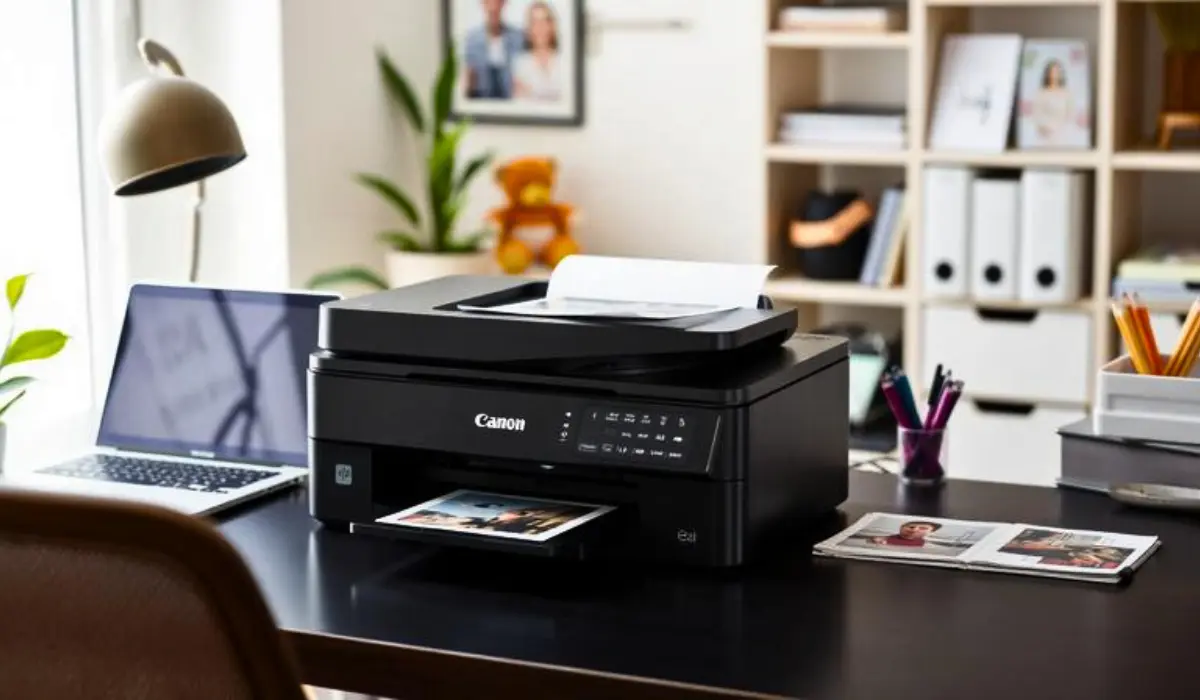
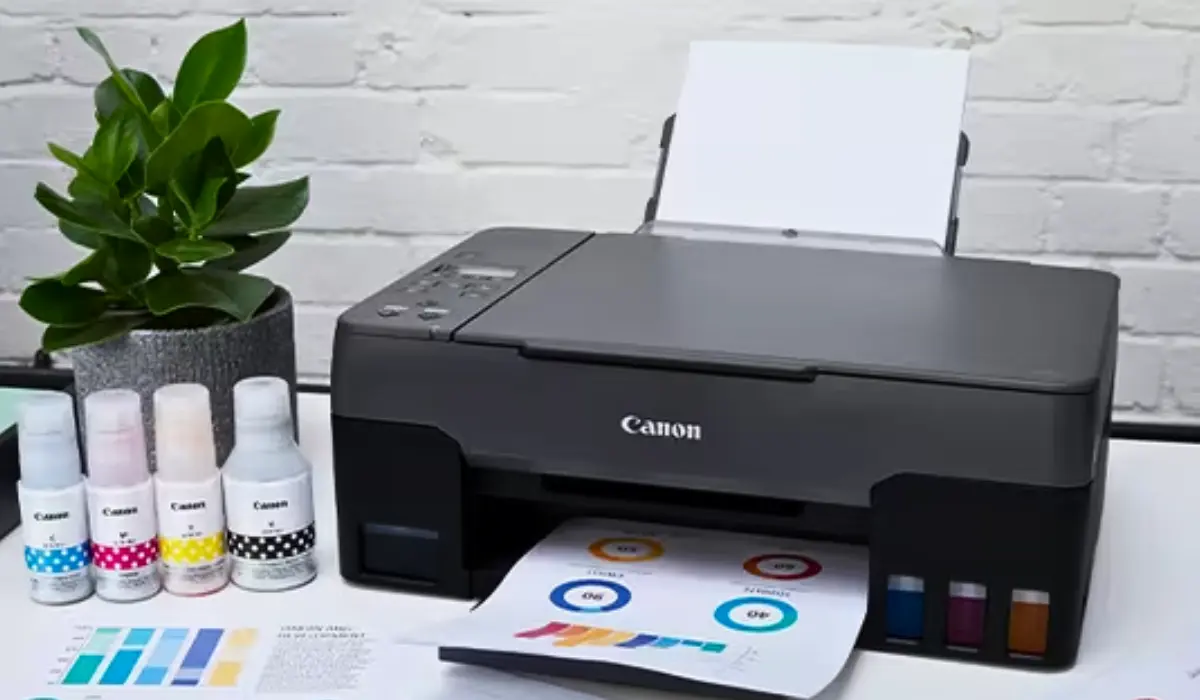
Setting up a printer can be confusing, especially when it needs to be done wirelessly. Fortunately, Canon makes this easier for home or office users. If you want to know how to set up a Canon printer wireless, this article describes every single step to help you get to printing quickly. All of Canon’s wireless printers are meant to be easy and convenient to use, allowing you to print from your laptop, smartphone, or tablet without a cable. Even if you’re on Windows, Mac, Android, or iOS, the process is fairly easy to set up. Once your Canon printer is connected to Wi-Fi, you can print away on any device on the same network without using cables.
It is important to pay attention to how to set up a Canon printer wireless in today’s digital age. Wireless printing is a great feature that saves you time and effort and boosts productivity – you will no longer have to move files around or worry about whether the USB cord is long enough to reach your computer. With an accurate setup with a Canon printer, you can print a document or photo in seconds from anywhere in your home or office. Let’s look at the process step by step to get your Canon printer working in sync with your wireless network.
Understanding Wireless Setup for Canon Printers
Canon wireless printers are designed to print simply and effectively in a modern way. To set up your printer, you connect it to your Wi-Fi network, install the software for the printer, and connect the printer to a computer or smartphone. After that, you can print a document or image from any device connected to the Wi-Fi. This section will walk you through that process in an easy format.
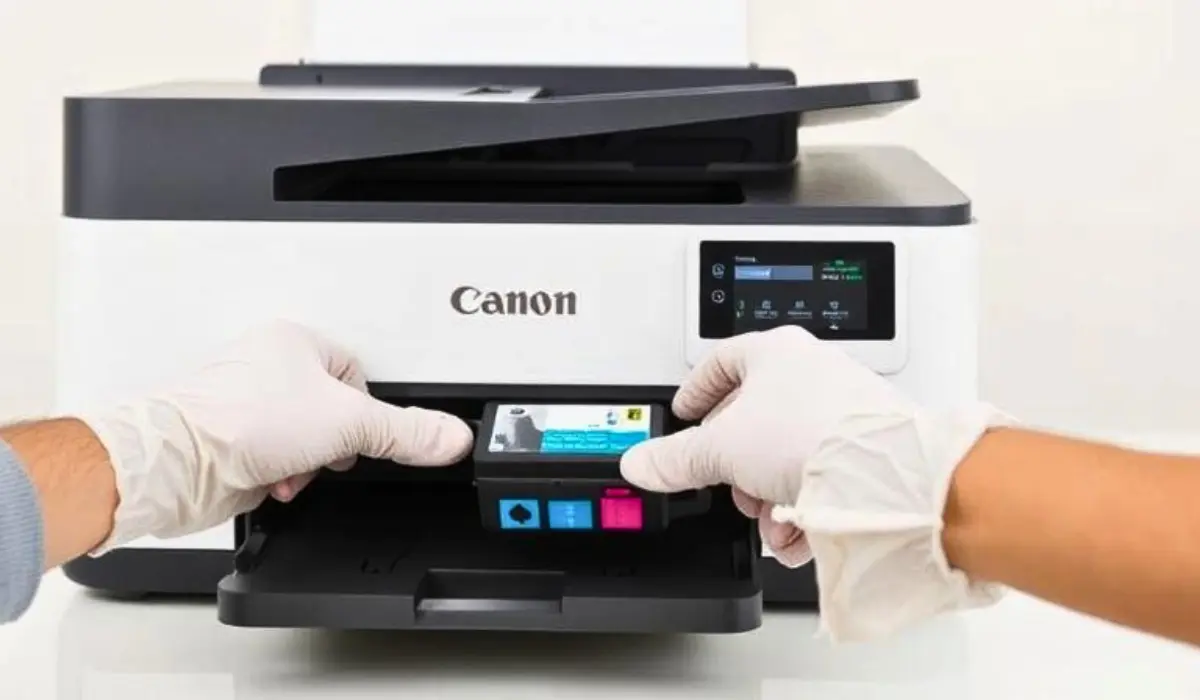
Step 1: Prepare Your Canon Printer for Setup
Before beginning the setup, check that your Canon printer is plugged in and within range of your wireless (Wi-Fi) router. Most Canon printer models are equipped with an LCD screen that will provide you with instructions on how to start the setup process. At this point, check to see if your printer’s Wi-Fi indicator light is blinking. If the light is blinking, the printer indicates it is ready to establish a wireless connection to your Wi-Fi. If your indicator light is not blinking, please go to your printer’s settings and perform a reset of the network configuration settings back to the defaults. This will ensure that your printer starts the setup process fresh without any previous connections that may cause issues.
Additionally, please have access to your Wi-Fi network name (SSID) and password. You will need these to complete the setup. Before completing the setup, check to see if your wireless (Wi-Fi) router is working correctly and is connected to the internet. If this is your first time setting up the printer, it is suggested to place the printer close to where the Wi-Fi router is located to ensure that the printer has good reception for a wireless connection.
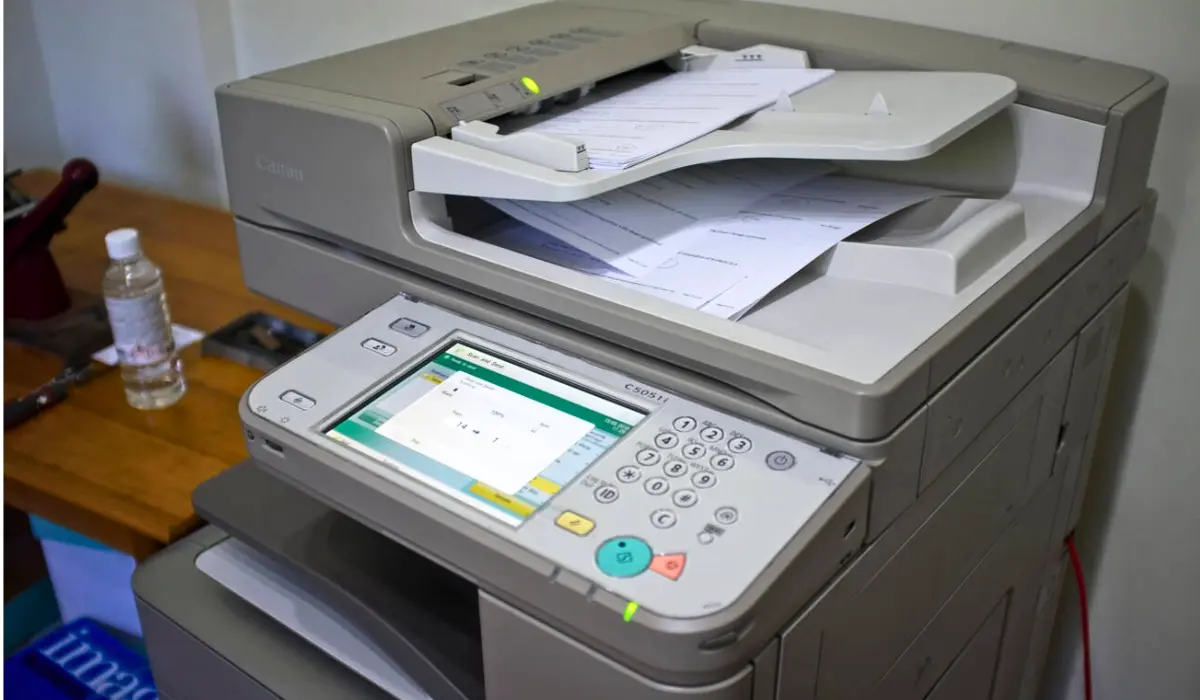
Step 2: Connect Using the Printer’s Control Panel
The easiest way to connect your Canon printer wirelessly is through the printer’s control panel. Follow these steps:
- On the printer’s menu, navigate to Wi-Fi Setup or LAN Settings.
- Select Wireless LAN Setup.
- The printer will search for available networks. Once you see your Wi-Fi network name, select it.
- Enter your Wi-Fi password using the control panel.
- Wait for the printer to connect to the network. Once connected, the Wi-Fi indicator light will stop blinking and remain steady.
You can also connect faster if your printer supports WPS (Wi-Fi Protected Set-up). Simply press and hold the WPS button on the router and the Wi-Fi button on the printer. Within a minute, it will connect automatically without needing to enter a password.
Step 3: Install Canon Printer Software on Your Device
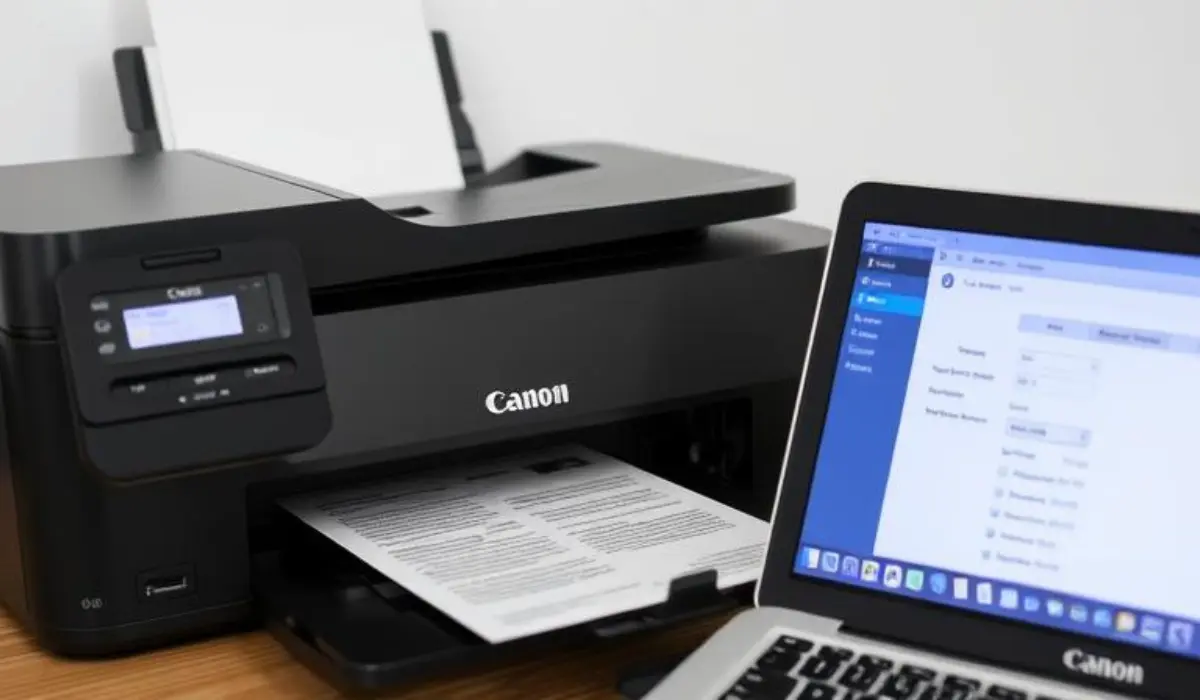
Once you have connected your printer to Wi-Fi, the next step is to install the required software or drivers on your computer or mobile device. This software allows your device to communicate properly with the printer. To download the most recent drivers and Canon PRINT software for your operating system, please go to the Canon website and look for your printer model.
For mobile devices, please download the Canon PRINT Inkjet/SELPHY app from the App Store or Google Play. This is an easy-to-use and convenient app to use to print from smartphones and tablets. After you install the app, open it. It will have on-screen instructions that will allow you to detect and add your printer.
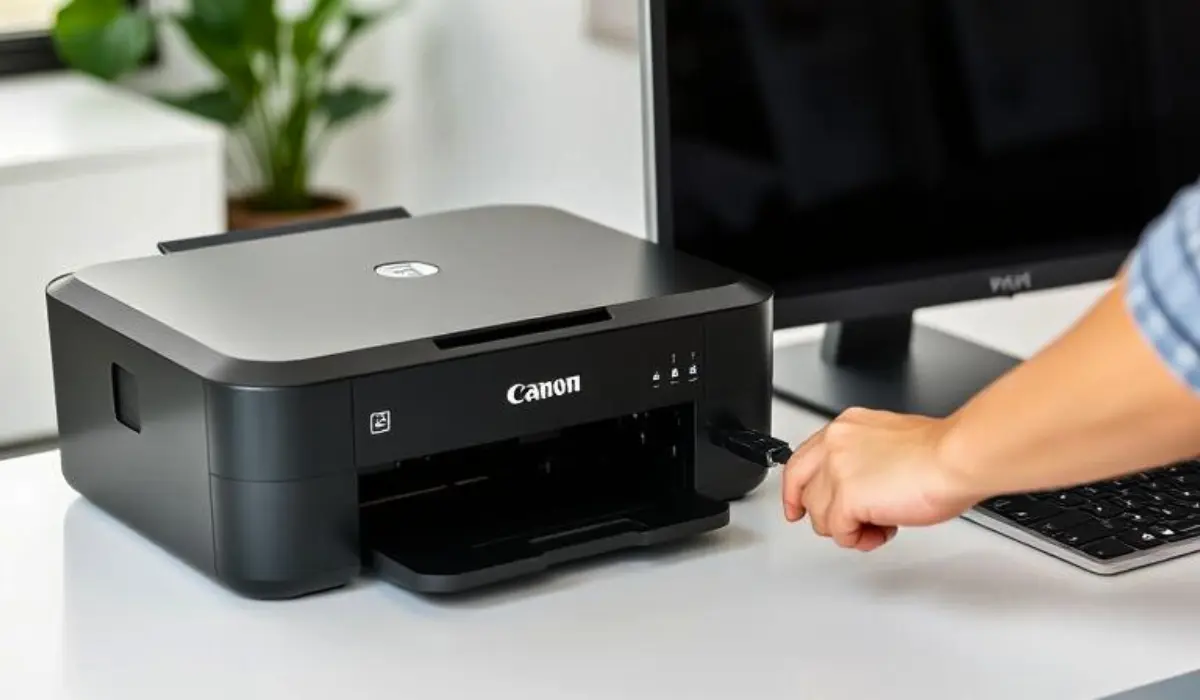
Step 4: Connect Printer to Computer or Mobile Device
Now that your Canon printer is connected to Wi-Fi and the software is installed, it’s time to add the printer to your device:
For Windows Users
- Go to Settings → Devices → Printers & Scanners.
- Click Add a printer or scanner.
- Wait for Windows to detect your Canon printer. Once found, select it and click Add device.
For Mac Users
- Go to System Preferences → Printers & Scanners.
- Click the + sign to add a new printer.
- Select your Canon printer from the list and click Add.
Once added, print a test page to confirm everything works correctly.
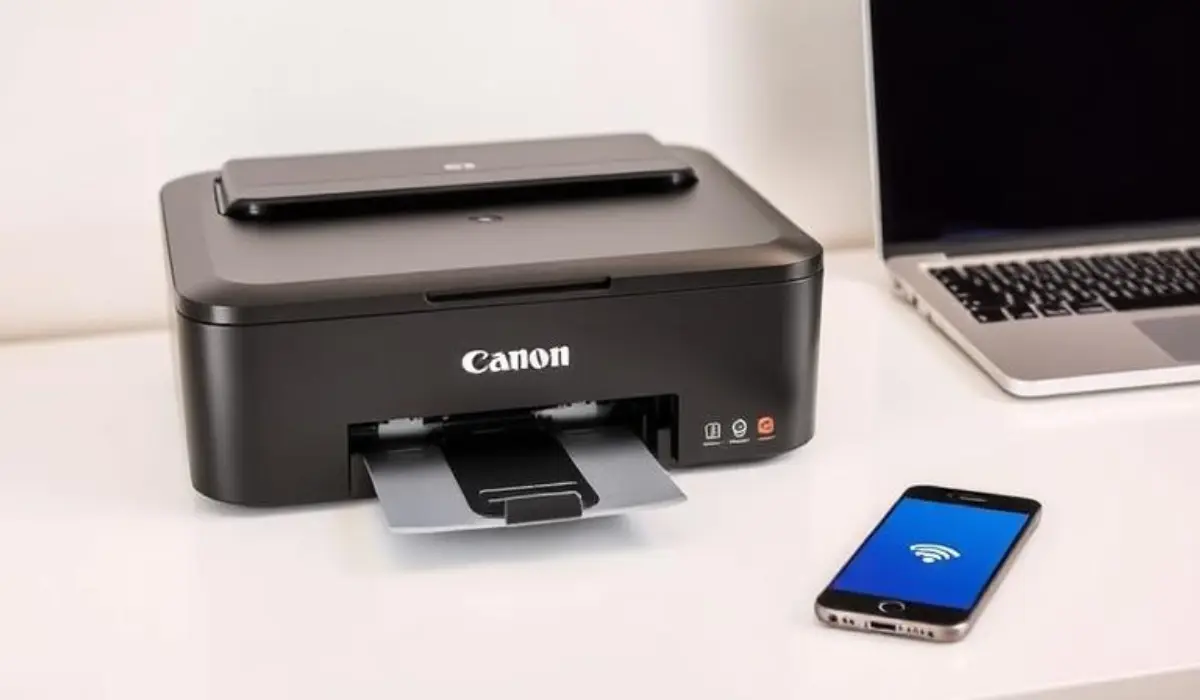
For Smartphones or Tablets
For users of the Canon PRINT app, start up the app, press Add Printer, and then select your model when it is displayed. Make sure your phone and the printer are connected to the same Wi-Fi network. Now you should be able to print photos, documents, or web pages directly from your device.
Step 5: Troubleshooting Common Issues
After completing the necessary steps, some users will still experience connection problems. Here are common problems and solutions:
- Printer not detected: Ensure that both the printer and device are connected to the same Wi-Fi network. Restart the router and printer if these devices were plugged in at the time of the check.
- Weak Wi-Fi signal: Move closer to the Wi-Fi signal or plug in a Wi-Fi extender.
- Driver issues: Uninstall and reinstall the Canon printer driver, or use the useful Canon Easy Wireless Connect feature to configure the printer automatically.
- Mobile printing not working: Ensure the Canon PRINT app is updated to a new version and that permissions are allowed for network accessibility.
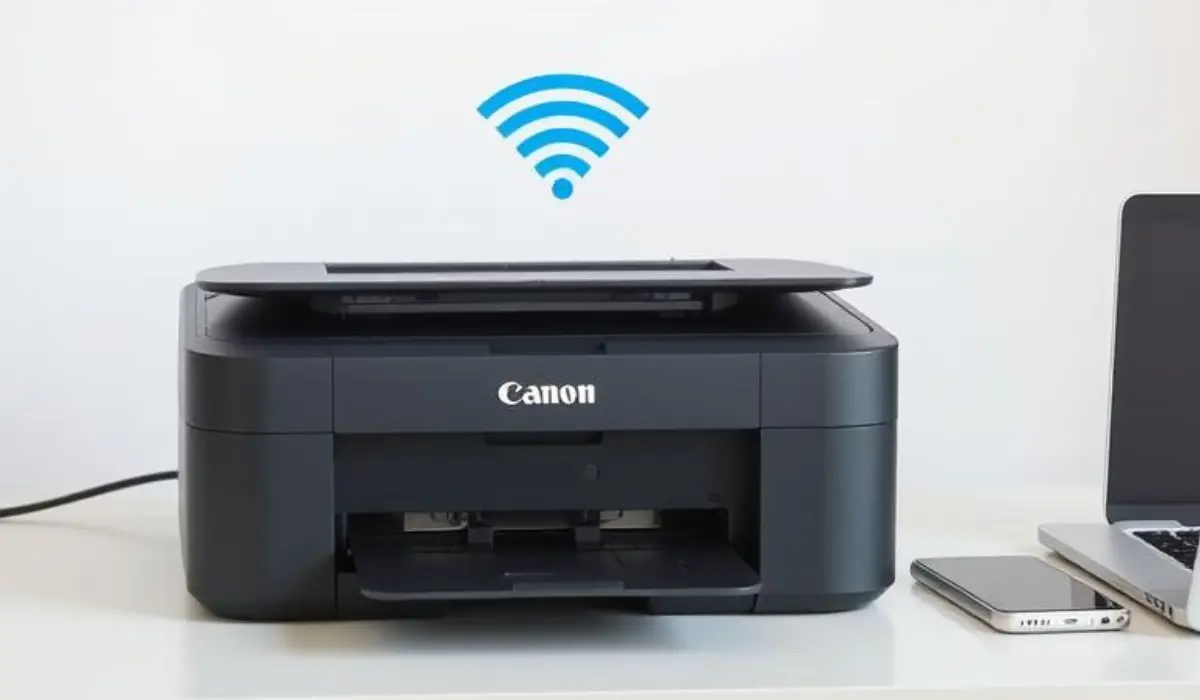
Benefits of Setting Up a Canon Printer Wirelessly
Wireless printing has many advantages that elevate convenience and workflow. You can print in another room without moving your device. Multiple users can use the same printer without plugging in a physical connection. Wireless printers also connect with cloud services like Google Drive or Dropbox, so you can print files saved online with ease. Canon’s wireless technology provides unmatched connection accuracy with ease, regardless of whether you’re printing photos, labels, or business documents.
Wireless printing also creates less clutter, keeping your area clean and tidy, and provides the flexibility of location. You can place a printer anywhere there is a power outlet, not required in close proximity to a computer.
Conclusion
Learning how to set up a Canon printer wireless can make printing simpler and faster in any environment. After connecting the printer to your Wi-Fi, it allows you to print easily from your smartphone, tablet, or computer. Getting set up is easy with just a few steps: connect to Wi-Fi, install the drivers, and add your printer.
You’ll be able to connect to your Canon printer wirelessly in a few minutes. Keep your printer software current, and always make sure your network connection is reliable for best results. By following this guide, you will love your Canon printer every day, printing wirelessly in a simple, efficient, and truly wireless experience.