How to Connect Epson Printer to WiFi?

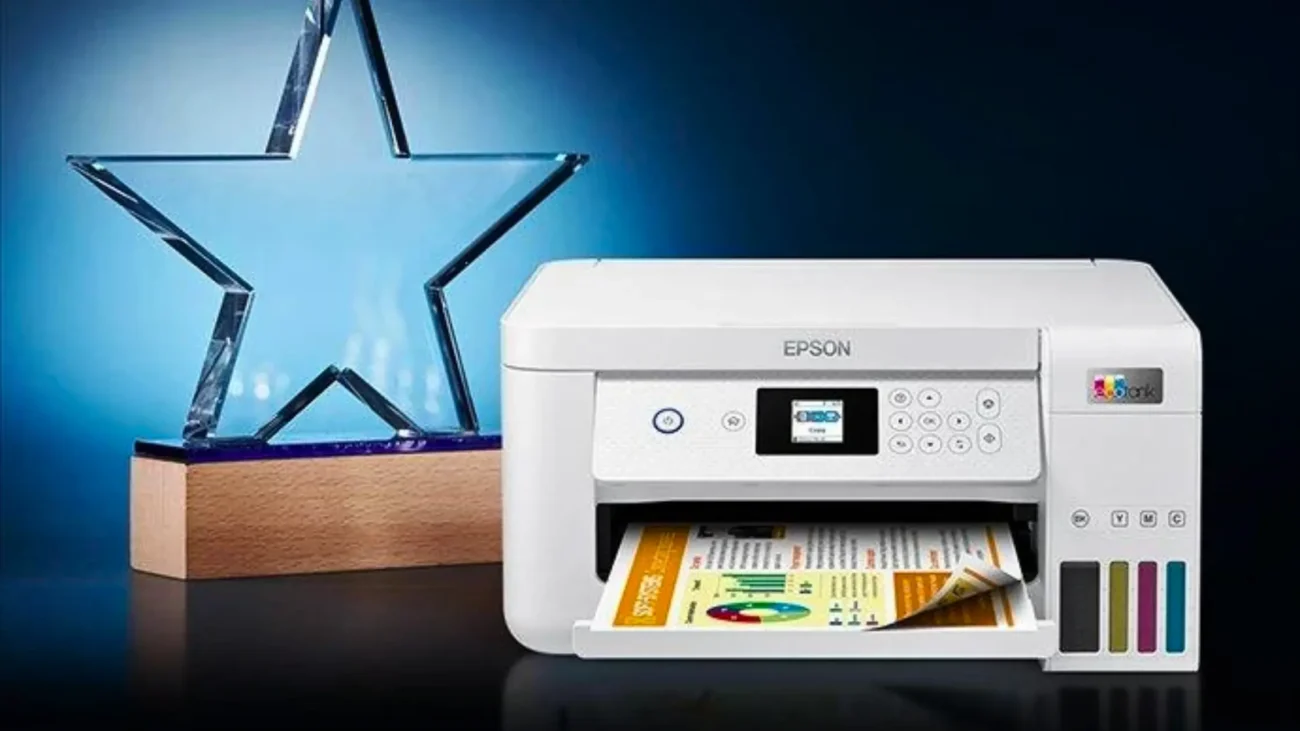
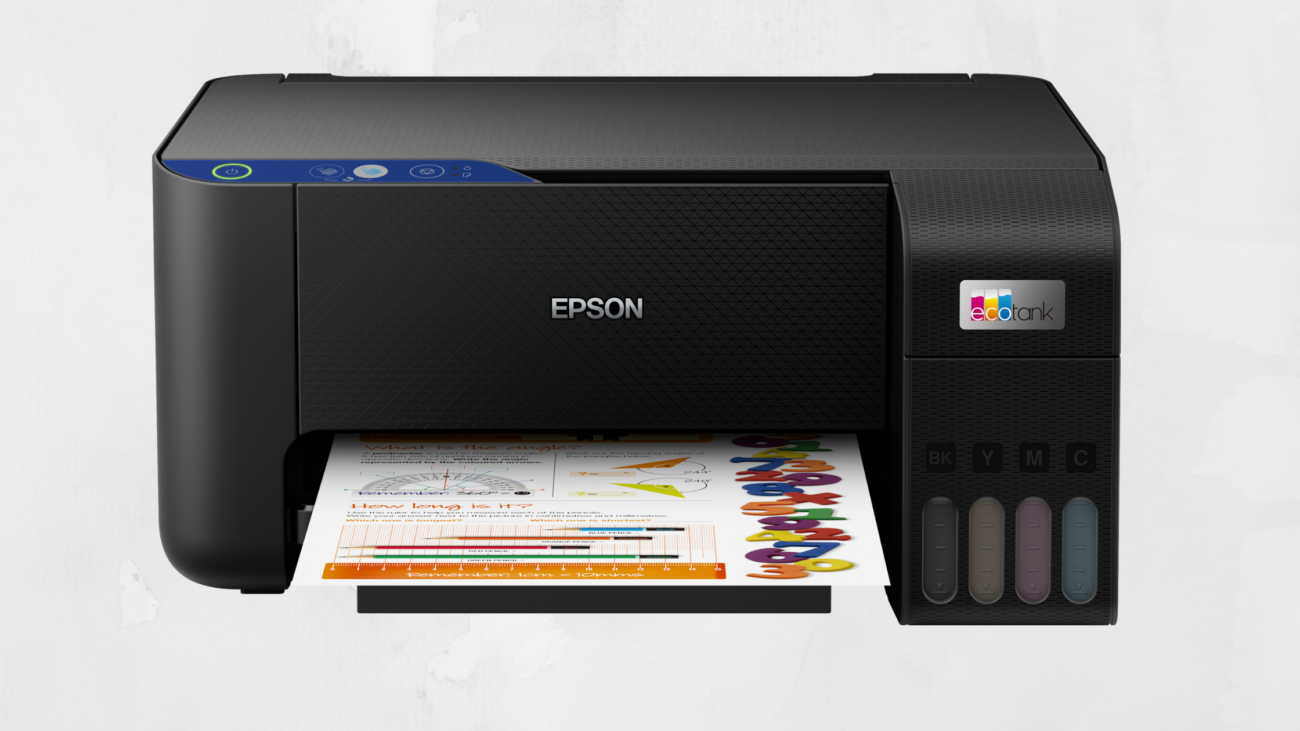
Wondering how to connect Epson printer to WiFi? You’re in the right place. Connecting your Epson printer to WiFi is a smart way to print wirelessly from your computer, smartphone, or tablet. Whether you have an Epson EcoTank, SureColor, or another model, setting up WiFi makes printing easier and faster. This guide will walk you through the simple steps to connect your Epson printer to your wireless network.
Why Connect Your Epson Printer to WiFi?
When your Epson printer is connected to WiFi, you can:
-
Print from anywhere in your home or office
-
Print directly from mobile devices using apps like Epson iPrint
-
Save time by avoiding cables and manual connections
-
Share one printer with multiple devices
Now, let’s go through the setup process.

Step 1: Prepare Your WiFi Network
Before you start, make sure:
-
Your wireless router is turned on and working
-
You know your WiFi network name (SSID) and password
-
Your printer is powered on and ready
If you don’t know your WiFi details, check your router or contact your internet provider.
Step 2: Use the Printer’s Control Panel
Most modern Epson printers have a built-in screen or control panel.
-
On the printer, go to the Home menu.
Look for a WiFi or Network option. -
Select ‘Wi-Fi Setup.’
This is usually under ‘Settings’ or ‘Network Settings.’ -
Choose ‘Wi-Fi Setup Wizard.’
The printer will search for available networks. -
Select your WiFi network (SSID) from the list.
Use the arrow buttons to scroll if needed. -
Enter your WiFi password.
Use the on-screen keyboard. Make sure to enter it correctly. -
Confirm the connection.
The printer will connect and display a success message.
If you’re wondering how to connect Epson printer to WiFi on older models without a screen, you can often use the WPS (Wi-Fi Protected Setup) button on your router. Press the WPS button, then press the WiFi button on your printer, and they will connect automatically.
Step 3: Install Printer Software on Your Computer
Even if the printer is connected to WiFi, you need to install the right drivers.
-
Go to the Epson support website.
Download the latest drivers and software for your specific printer model. -
Run the installer on your computer.
Follow the on-screen instructions and choose ‘Wireless Connection’ when prompted. -
Complete the setup.
The installer will detect the printer on your WiFi network and finish the process.
Step 4: Print a Test Page
To make sure everything works:
-
Print a test page from your computer or phone
-
Check if the print quality looks good and if the printer responds quickly
If you run into problems, check the Epson website for troubleshooting tips.
Tips for Better WiFi Printing
-
Place your printer close to the WiFi router for a stronger signal
-
Avoid walls or electronic devices that may block the signal
-
Update your printer’s firmware regularly through the Epson software
-
Use the Epson iPrint app for easy mobile printing
Conclusion
Now you know how to connect Epson printer to WiFi and enjoy the benefits of wireless printing. With just a few steps, you can make your printing experience smoother and more efficient. Whether you’re working in a busy office or a cozy home studio, a wireless setup saves time and effort.
For more tips, product recommendations, and expert support, visit Tenaui. We are here to help you get the most from your Epson printers and printing solutions.


