Blog
How to Connect Epson Printer to Computer? Quick Installation Steps!
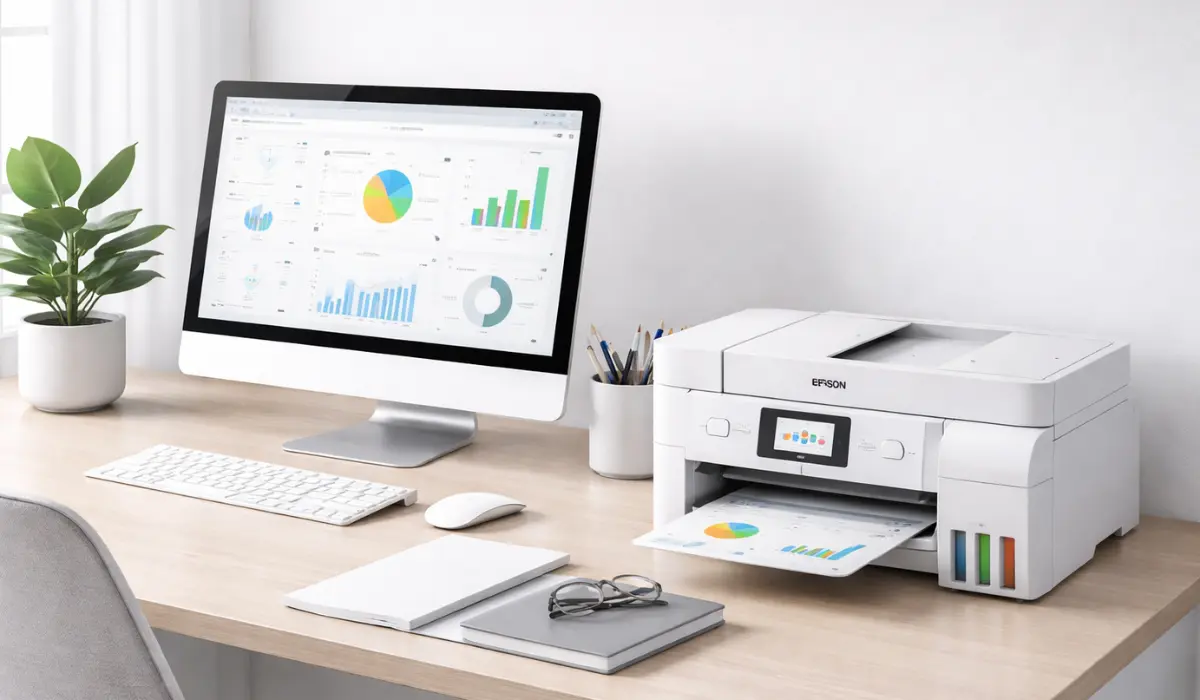
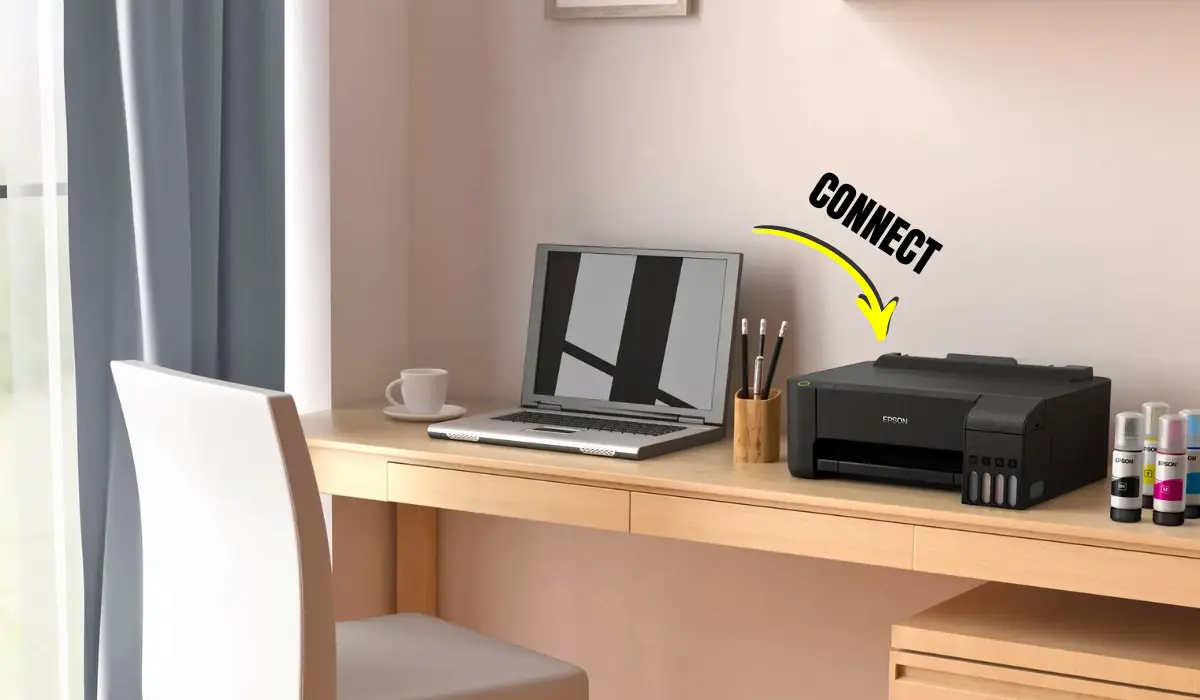
Connecting a printer to a computer is one of the first steps to start printing documents, photos, and creative projects at home or in the office. Many modern printers offer multiple connection options, including USB, Wi-Fi, and network connectivity, making setup easier than ever. However, new users may still find the installation process confusing if they are doing it for the first time. Understanding the correct steps can save time and help avoid technical issues.
If you are wondering how to connect Epson printer to computer, this guide will walk you through the complete process in a simple and user-friendly way. Whether you are using Windows or macOS, or connecting through USB or wireless networks, you will learn the easiest ways to set up your Epson printer and start printing smoothly.
Understanding Epson Printer Connection Options
Before starting the setup process, it is important to know the different ways an Epson printer can connect to a computer. Epson printers are designed to support multiple connectivity options so users can choose the method that best suits their environment.
The most common connection methods include USB cable, Wi-Fi, and network via a router. USB is usually the fastest and simplest way for a single computer, while Wi-Fi allows multiple devices, such as laptops and smartphones, to print wirelessly. Network connections are commonly used in offices where several computers share the same printer.
Choosing the correct connection method will depend on your workspace, number of users, and how frequently the printer will be used.
Things You Need Before Connecting the Printer
Before starting the installation, make sure you have all the necessary components ready. Preparing everything in advance helps make the setup process smoother.
You should have the Epson printer properly unpacked and powered on. Your computer should be turned on and connected to the internet if you plan to install drivers online. The printer driver software is also important because it allows the computer to communicate with the printer.
Here are the basic requirements for setup:
-
Epson printer with power cable connected
-
Computer or laptop
-
USB cable or Wi-Fi network access
-
Printer driver software or installation file
-
Internet connection for driver download
Once these items are ready, you can begin connecting the printer.
How to Connect Epson Printer to Computer Using USB Cable
USB connection is the simplest way to install a printer. This method is recommended for users who only want to connect the printer to a single computer.
Follow these steps to complete the setup:
-
Turn on your Epson printer and computer.
-
Connect one end of the USB cable to the printer and the other end to the computer.
-
Wait for the computer to detect the new device automatically.
-
If prompted, install the printer driver software.
-
Follow the installation instructions displayed on the screen.
-
Once installation is complete, print a test page to confirm the setup.
This method usually takes only a few minutes and is very reliable because it uses a direct physical connection.
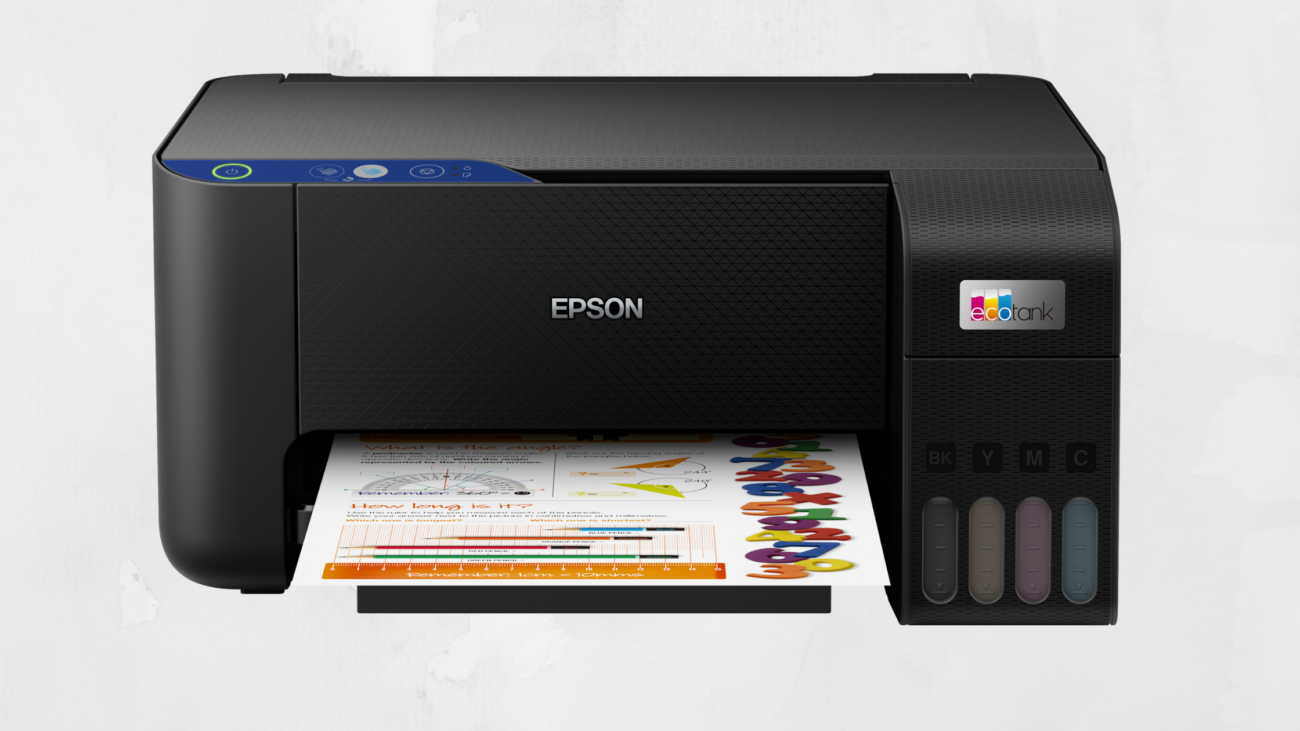
How to Connect Epson Printer to Computer via Wi-Fi
Wireless printing is becoming more popular because it allows multiple devices to use the printer without cables. Most modern Epson printers come with built-in Wi-Fi functionality.
To set up wireless printing, follow these steps:
-
Turn on the Epson printer.
-
Access the printer control panel or display screen.
-
Open the Wi-Fi or network settings menu.
-
Select your wireless network from the list.
-
Enter the Wi-Fi password.
-
Confirm the connection and wait for the printer to connect.
After connecting the printer to Wi-Fi, you need to add it to your computer through the system settings.
For Windows users, go to the printer settings and add a new printer. The computer will search for available printers on the network. Select your Epson printer and complete the installation.
For macOS users, open System Settings and go to Printers & Scanners. Click the add printer option and select your Epson printer from the available devices list.
Installing Epson Printer Drivers
Printer drivers are essential software that allow your computer to communicate with the printer. Without drivers, the printer may not function properly or may not be detected at all.
Drivers can be installed in several ways. Many printers include an installation CD, but downloading the latest driver from the official Epson website is usually recommended. Updated drivers improve compatibility and performance.
The installation process typically involves downloading the driver package, opening the installation file, and following the on-screen instructions. During the process, the software will detect the printer and complete the connection setup.
Once the driver installation is complete, your printer will appear in the list of available printers on your computer.
Troubleshooting Common Connection Problems
Sometimes the printer may not connect successfully on the first attempt. Fortunately, most connection issues can be solved quickly with a few simple checks.
Common causes of connection problems include outdated drivers, incorrect Wi-Fi passwords, loose cables, or network interruptions.
Here are a few troubleshooting tips:
-
Restart both the printer and the computer
-
Check if the USB cable is securely connected
-
Ensure the printer and computer are on the same Wi-Fi network
-
Update or reinstall printer drivers
-
Disable the firewall temporarily if it blocks the connection
Following these steps usually resolves most installation problems.
Tips for Maintaining a Stable Printer Connection
Once your printer is successfully connected, it is important to maintain a stable connection to avoid printing interruptions.
Regularly updating printer drivers helps ensure compatibility with your operating system updates. Keeping the printer firmware updated can also improve network performance and printing reliability.
If you are using wireless printing, placing the printer closer to the Wi-Fi router can improve signal strength and reduce connectivity issues. It is also helpful to avoid connecting too many devices to the same network if possible.
Routine maintenance, such as cleaning the printer and checking cables, also contributes to consistent printing performance.
Conclusion
Learning how to connect Epson printer to computer is a simple process once you understand the basic steps involved. Epson printers are designed to offer flexible connection options, including USB and wireless networks, allowing users to choose the most convenient setup for their needs. With the correct drivers installed and the proper network configuration, the printer can quickly become an essential tool for both personal and professional printing tasks.
By following the step-by-step instructions in this guide, anyone can complete the setup process without technical difficulties. Whether you are installing a printer for home use or an office environment, understanding how to connect Epson printer to computer ensures smooth printing, reliable performance, and a better overall user experience.
Frequently Asked Questions
1. How do I connect my Epson printer to my computer for the first time?
You can connect it using a USB cable or through a Wi-Fi network. Install the printer drivers and follow the setup instructions to complete the connection.
2. Why is my Epson printer not detected by my computer?
This may happen due to outdated drivers, incorrect Wi-Fi settings, or loose USB connections. Restarting the devices and reinstalling drivers usually solves the issue.
3. Can I connect my Epson printer wirelessly to multiple computers?
Yes, if the printer is connected to a Wi-Fi network, multiple computers and devices on the same network can access it.
4. Do I need to install drivers for Epson printers?
Yes, drivers are necessary for the computer to communicate with the printer and enable full printing functionality.
5. Is USB or Wi-Fi better for connecting a printer?
USB offers a stable connection for one computer, while Wi-Fi allows multiple devices to print wirelessly, making it more flexible for shared environments.