How to Connect an Epson Printer to a Laptop Easily and Quickly?
It should be easy to connect a printer to your laptop, but for a lot of people, it can be hard to figure out at first. Knowing how to connect an Epson printer to a laptop correctly can save you time and trouble, whether you’re setting up a new device or reconnecting after changing your Wi-Fi network. Epson printers are easy to set up because they can connect to computers via USB, Wi-Fi, or even wireless direct connections. This makes them great for home offices, students, and businesses. This full guide will show you how to connect your printer and get it ready to print in simple, step-by-step instructions. We will also give you troubleshooting tips, instructions on how to install drivers, and useful FAQs so you can finish the setup without any technical problems.
Check Compatibility Before You Start
Before connecting your Epson printer, confirm a few basic requirements to ensure a smooth installation process. First, verify that your laptop’s operating system is compatible with your printer model. Most modern Epson printers support Windows 10, Windows 11, and macOS versions, but checking the official Epson support page for your specific model is always recommended.
Next, make sure your laptop has an active internet connection if you plan to set up the printer wirelessly. If you are using a USB connection, confirm that you have the correct USB cable. Lastly, ensure your printer is powered on and has ink cartridges installed properly. Preparing these basics in advance will make the connection process faster and more reliable.
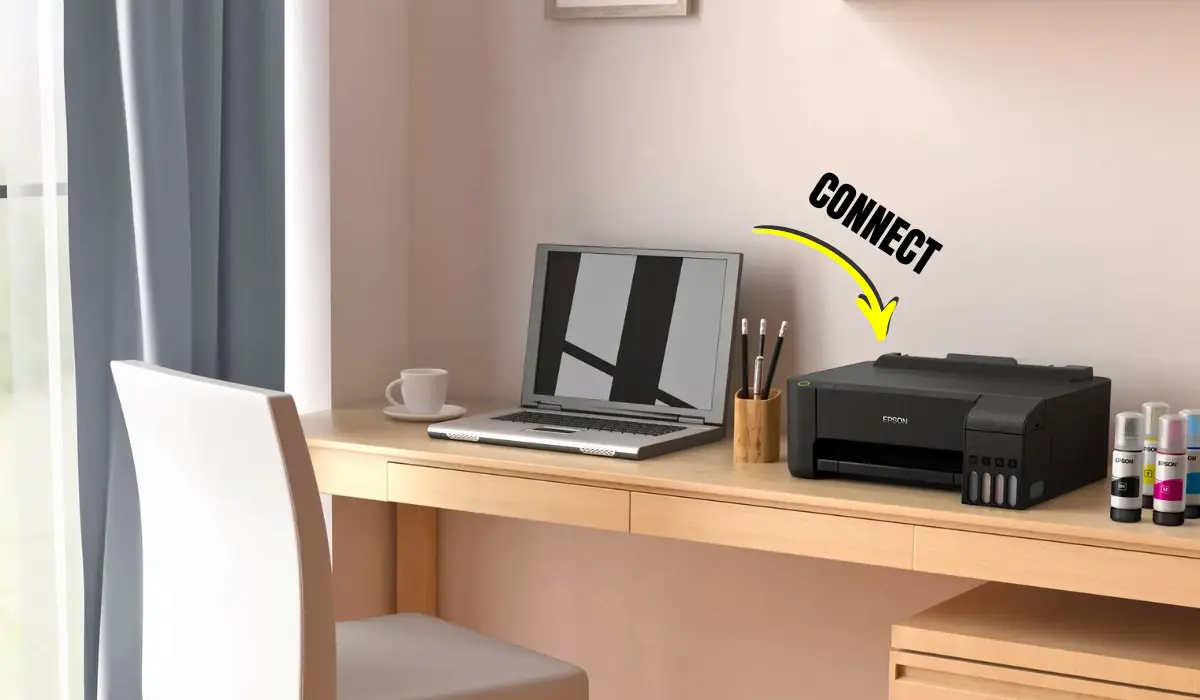
How to Connect an Epson Printer to a Laptop Using a USB Cable?
A USB connection is the simplest and most stable way to set up your Epson printer, especially if you are not comfortable with wireless settings. Follow these steps:
- Turn on your Epson printer.
- Connect one end of the USB cable to the printer and the other end to your laptop.
- Your laptop should automatically detect the new device.
- If prompted, install the printer driver.
In many cases, Windows or macOS will often install the drivers you need on its own. But if the installation doesn’t start on its own, go to the official Epson support website, look for your printer model, and download the most recent driver that works with your operating system. After you install it, check the “Printers & Scanners” settings on your laptop to make sure the Epson printer is listed. Print a test page to make sure everything is working right.
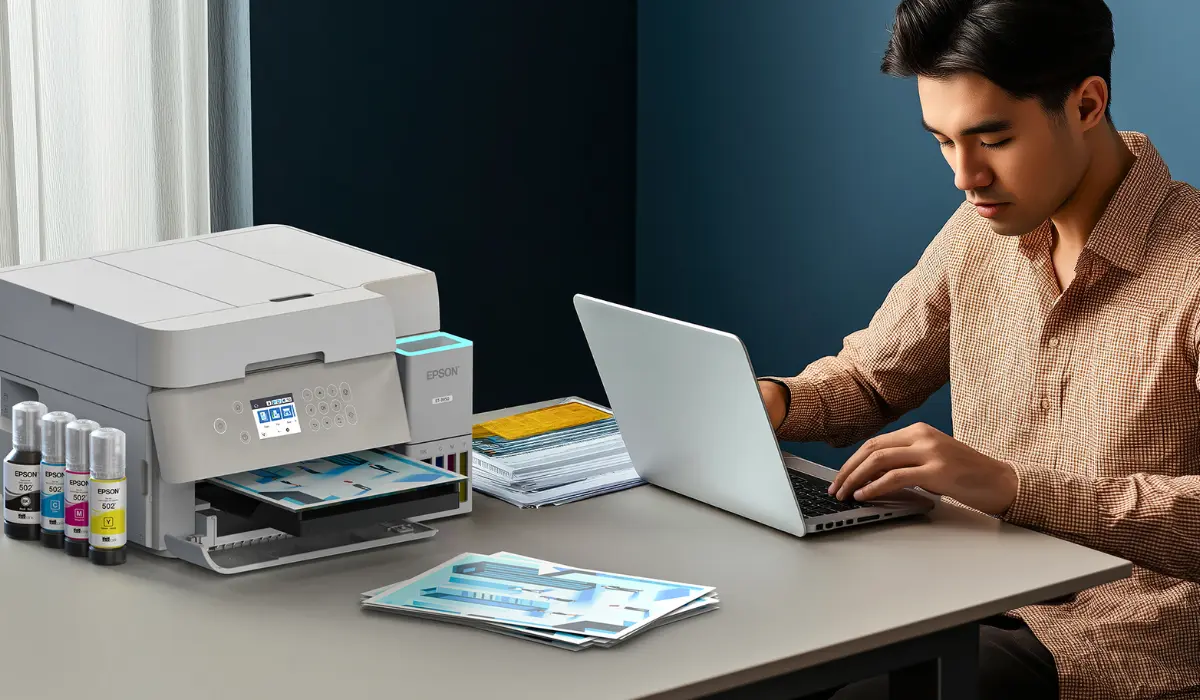
How to Connect an Epson Printer to a Laptop via Wi-Fi?
Wireless printing is more flexible and gets rid of cable clutter. To connect your Epson printer to Wi-Fi, your laptop and printer must be on the same wireless network. To set up Wi-Fi on your printer, first turn it on and go to the Wi-Fi setup menu on the control panel. Choose your wireless network and type in the password for it. After you connect, open “Printers & Scanners” in the system settings on your laptop.
If you click “Add a printer or scanner,” your Epson printer should show up right away. Choose it and then follow the instructions on the screen to finish the installation. If you can’t see your printer, go to the official website and download and install the Epson printer driver by hand. Setting up wireless printing may take a few minutes, but once it’s done, you can print from anywhere in your Wi-Fi range.
Using Epson Connect for Wireless Printing
Epson Connect is another feature that lets you print from laptops, smartphones, and even cloud services. To do this, sign up for the Epson Connect service on the company’s official website. Once you sign up, you can print documents from anywhere by sending them straight to the email address that is linked to your printer. This feature is very helpful for small businesses and professionals who need to be able to print in different ways.
Install or Update Printer Drivers Properly
Printer drivers act as communication bridges between your laptop and printer. If your Epson printer is not responding, outdated or missing drivers may be the cause. Visit the official Epson support page, enter your printer model, and download the latest driver version for your laptop’s operating system. During installation, follow the on-screen instructions carefully and restart your laptop if prompted. Keeping drivers updated ensures optimal performance, better print quality, and fewer connectivity problems.
Troubleshooting Common Connection Issues
Sometimes, even after following instructions carefully, connection problems may occur. Here are a few quick troubleshooting steps:
- Restart both your printer and laptop.
- Check your Wi-Fi network stability.
- Ensure the printer is set as the default printer.
- Disable the firewall or antivirus temporarily if they block the installation.
- Reinstall the printer driver if needed.
If you are still facing issues, refer to your printer’s user manual or contact Epson customer support for technical assistance. Most connectivity issues are minor and can be resolved within minutes with the right adjustments.
Best Practices for a Stable Printer Connection
Put your printer in a place where it can get a strong Wi-Fi signal to keep printing smoothly. Don’t put it near things that might mess up the signal, like microwaves or routers that are inside cabinets. Keep your laptop’s operating system and printer firmware up to date. Also, clean your printer and do regular maintenance to make sure it always prints well. These small things can help you avoid long-term problems with technology.
Why Proper Setup Matters
Making sure that you know how to connect your Epson printer to your laptop is important for reliability, less time wasted on printing, and increased productivity when using your Epson printer. As you print everything from homework assignments to contracts for work or personal materials, knowing how to set up the connection correctly increases efficiency. Newer Epson printers provide a choice of wired or wireless connectivity, which makes them well-suited for many different types of printing environments. When you finish setting up your connection, printing anything is easy and convenient to do daily!
Conclusion
It doesn’t have to be difficult to install a printer if you take the correct steps. Now that you understand how to connect an Epson printer to a laptop using USB, Wi-Fi, and Epson Connect, you can choose the method that best fits your needs. Make sure to keep all of your drivers regularly updated and your network as stable as possible in order to provide seamless printing each visit. A successfully installed Epson printer provides the ability to stay productive and organized, no matter if you’re working from home, studying, or performing your normal office functions. Once you have put into use some of these techniques and troubleshooting methods contained within this guide, you will have completed the installation of your printer with success and be able to print without fail for years!
Frequently Asked Questions
- Why won’t my laptop connect to my Epson printer?
This could happen due to outdated drivers, incorrect Wi-Fi credentials, or network issues. If you need to, restart your devices and reinstall the drivers.
- Do I have to install drivers by hand?
In many cases, your laptop will automatically install drivers. But if you install it by hand, you can be sure you have the most recent version.
- Is it possible to connect my Epson printer without Wi-Fi?
Yes, you can connect directly with a USB cable.
- How do I get my printer back online after changing my Wi-Fi?
Use the new Wi-Fi credentials to set up your printer’s wireless connection again after resetting its network settings.
- Is printing over Wi-Fi slower than printing over USB?
Wireless printing might be a little slower depending on how fast the network is, but for most home and office users, the difference is small.