Blog
How To Change Epson Printer Ink Easily At Home?
Many people face problems with printing tasks simply because they are unsure about how to change Epson printer ink properly. Whether you are a student needing urgent assignments, an office worker printing reports, or a small business owner producing daily invoices, knowing how to change Epson printer ink is essential to keep your workflow smooth. In this guide, we will walk you through each step clearly so you never feel stuck again. Understanding how to change Epson printer ink saves time, prevents mess, and ensures your printer continues giving bright and clean prints. Let us make this simple process easy for you today.
Why Changing Ink Properly Matters?
Using your Epson printer regularly requires proper maintenance, and ink replacement is a major part of it. If you do not change ink cartridges the right way, it may cause printhead clogs, unclear print quality, or damage to the cartridge slot. Moreover, using the wrong technique can lead to ink stains on your hands or desk. Learning how to change Epson printer ink correctly helps you avoid unnecessary cleaning or costly repairs.
Knowing When to Replace Ink
Epson printers usually notify you when ink is low. You might see faded prints, missing lines, or an on-screen alert. Here are common signs it is time to change your Epson printer ink:
-
Prints appear light or streaky
-
Colours look incorrect or faded
-
Printer shows a “low ink” or “replace ink cartridge” warning
-
Print jobs pause midway
It is always better to replace the cartridge before it completely runs out to avoid interrupted tasks.
Step-by-Step Guide on How to Change Epson Printer Ink
Here is an easy-to-follow process you can do in under ten minutes:
1. Prepare Your Workspace
Before starting, keep tissue paper nearby in case of small spills. Make sure your printer is on a flat surface with enough light so you can see the cartridge area clearly.
2. Turn On Your Printer
Switch on your Epson printer. You cannot replace the ink if it is turned off as the cartridge holder will remain locked in place.
3. Open the Printer Cover
Lift the scanner unit or top cover depending on your model. Wait until the ink cartridge holder moves to the replacement position and stops moving completely.
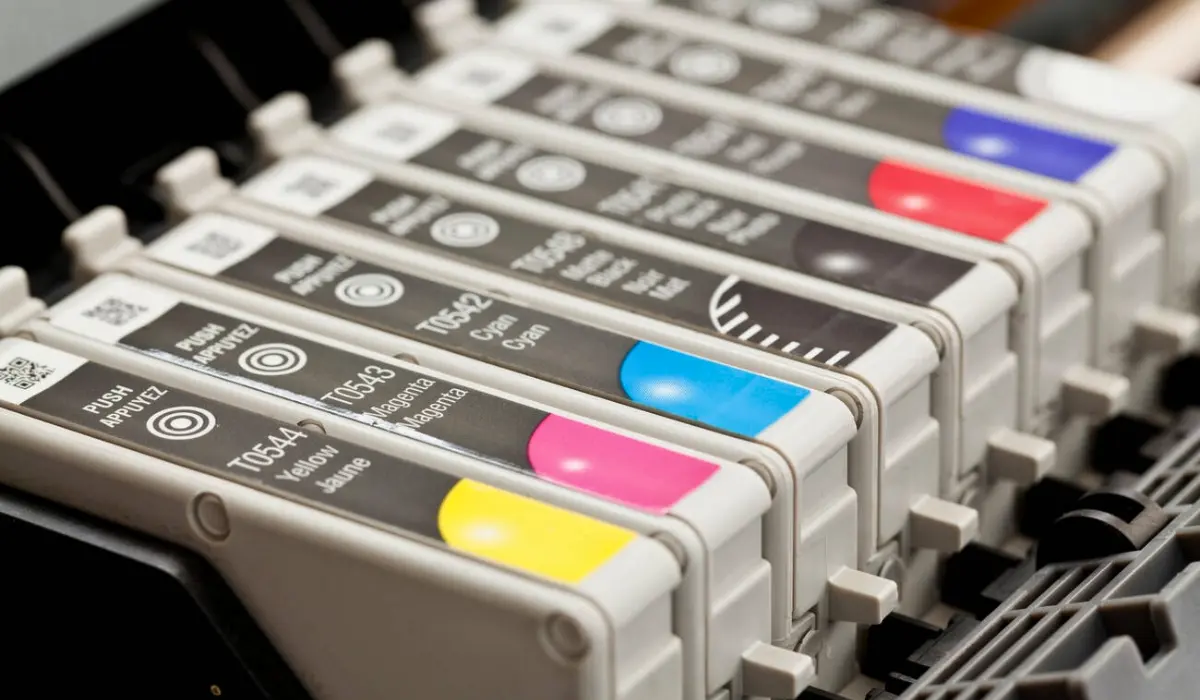
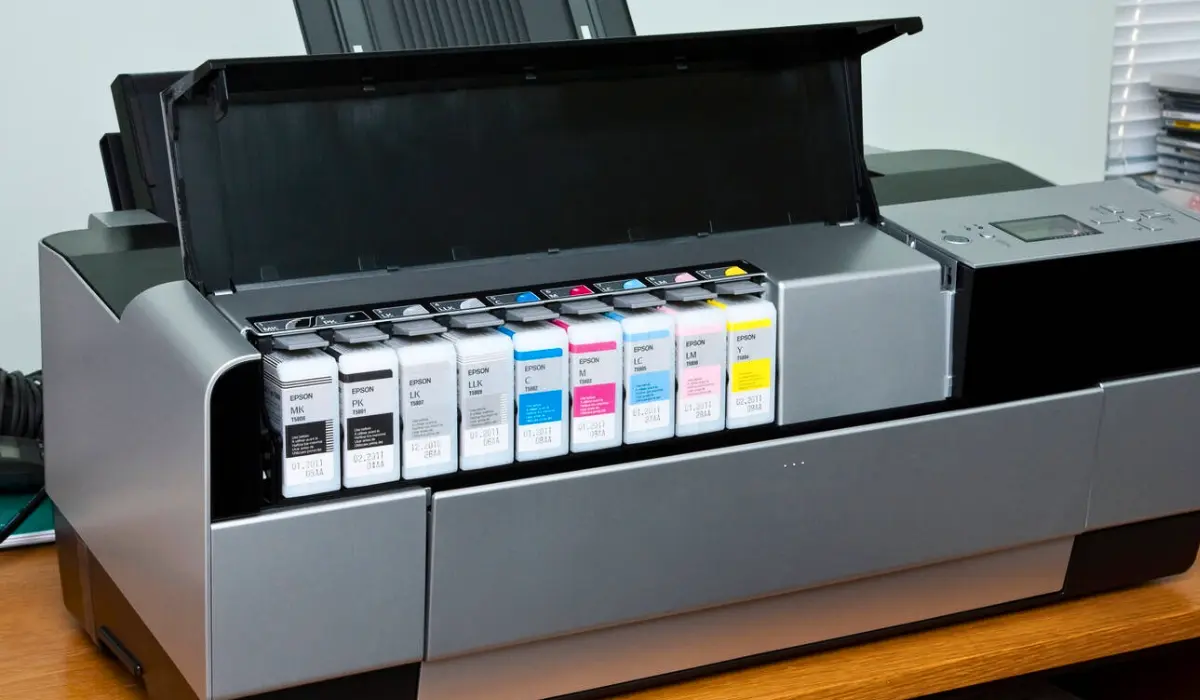
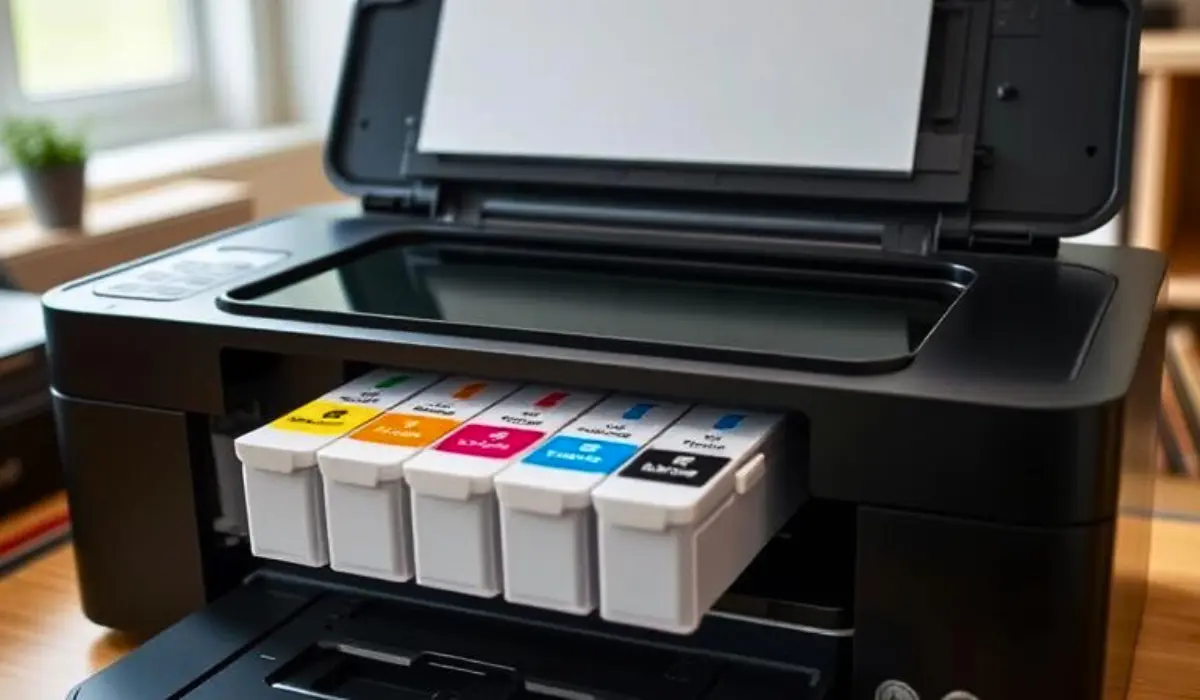
4. Identify and Remove the Empty Cartridge
Check the display panel to see which ink needs changing. Press the tab on the cartridge and pull it upwards gently. Avoid using excessive force.
5. Unpack the New Cartridge
Open the new ink cartridge package carefully. Do not touch the green chip or nozzles as it may affect the printer’s ability to read the cartridge.
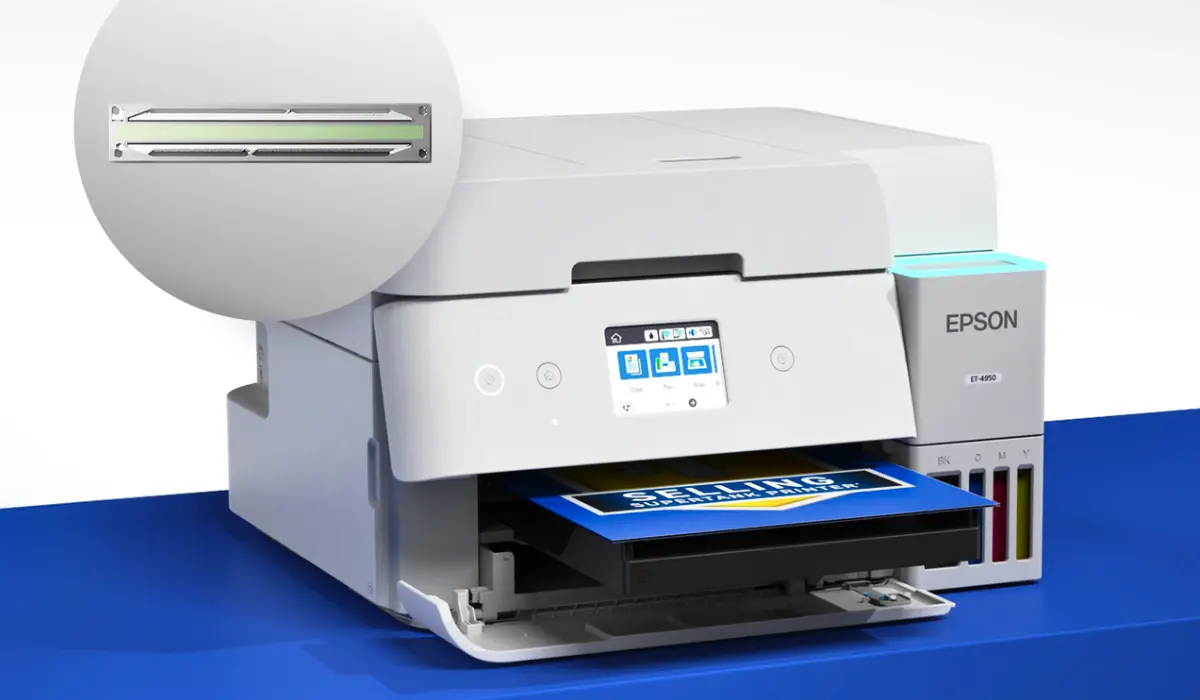
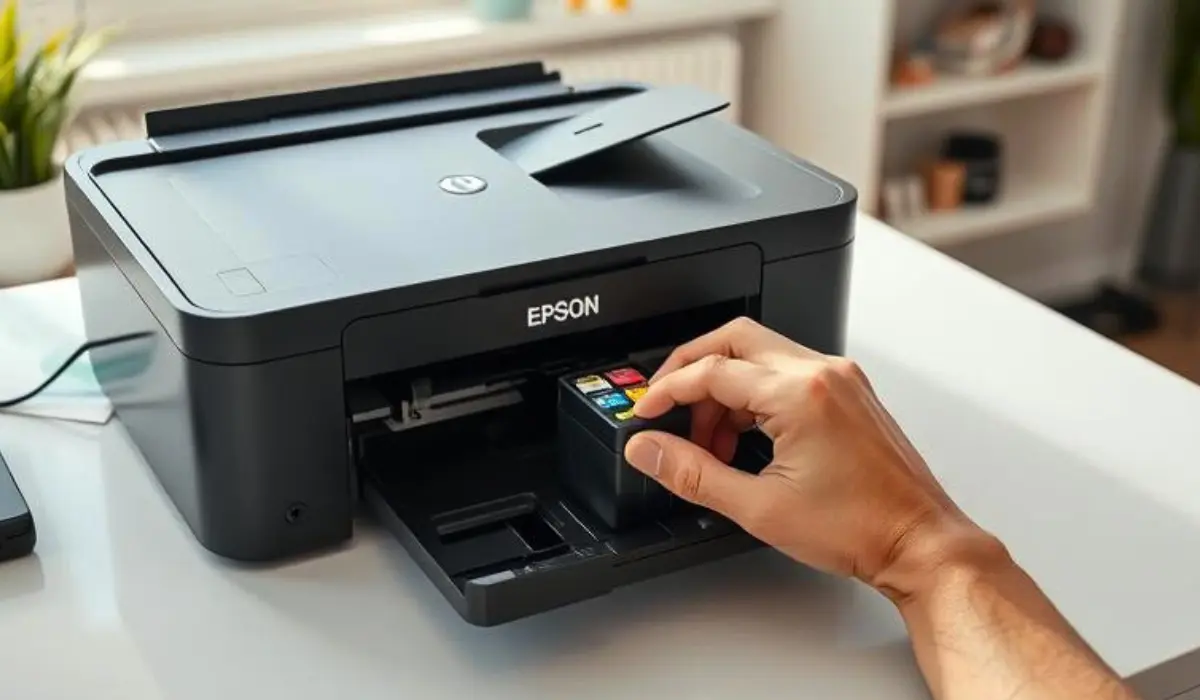
6. Insert the New Cartridge
Place the cartridge into its slot and push it down until it clicks. Ensure it is aligned properly to avoid leaks or errors later.
7. Close the Printer Cover
Once the cartridge is secure, close the top cover or scanner unit. The printer will start charging the ink automatically. This may take a few minutes.
8. Run a Test Print
Print a test page to check colour accuracy and ensure the new cartridge is installed correctly.
Tips to Make Changing Epson Printer Ink Easier
-
Always keep extra cartridges in stock, especially if you print frequently.
-
Buy original Epson cartridges to protect your printer and maintain print quality.
-
Avoid removing cartridges unnecessarily as it exposes printheads to air and dries them quickly.
-
Do not shake cartridges before installing them; gentle tilting is enough to mix the ink evenly.
Common Mistakes to Avoid
While learning how to change Epson printer ink, many users make errors that can be prevented:
-
Touching cartridge chips and nozzles
-
Installing cartridges in the wrong slots
-
Forgetting to remove protective seals
-
Forcing cartridges into place if they do not fit smoothly
Avoiding these mistakes helps your printer work efficiently and increases the lifespan of the cartridges.
When to Seek Help?
If after installing new cartridges your printer still shows a low ink warning, try removing and reinserting the cartridge. Check if protective tape is fully removed. If issues continue, refer to your printer’s manual or contact Epson customer support for model-specific assistance.
Conclusion
Knowing how to change Epson printer ink is an essential skill for anyone using a printer regularly. Whether for personal, academic, or professional needs, understanding this simple process saves you from unexpected printing delays and poor print quality. Always remember to change ink gently, use original cartridges, and run test prints after replacement to keep your printer performing at its best. Next time you see that low ink warning, confidently follow these steps on how to change Epson printer ink without any stress or confusion.