Setup Guides for Large Format Printers: A Complete Practical Guide for Smooth Installation
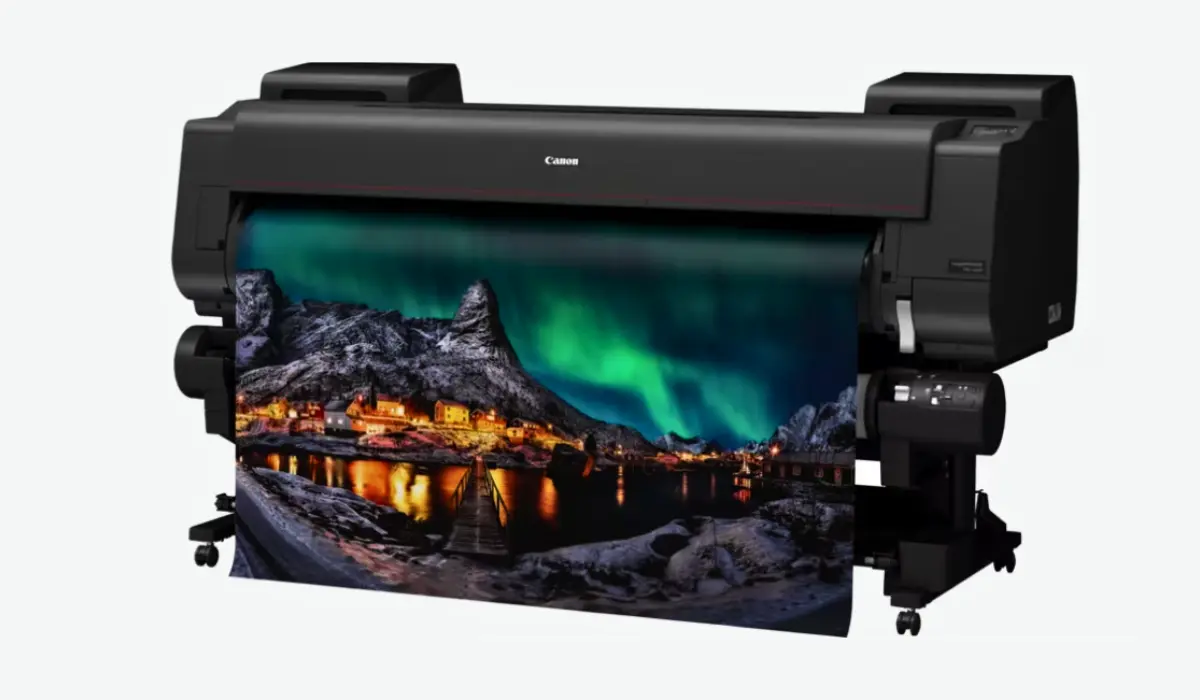
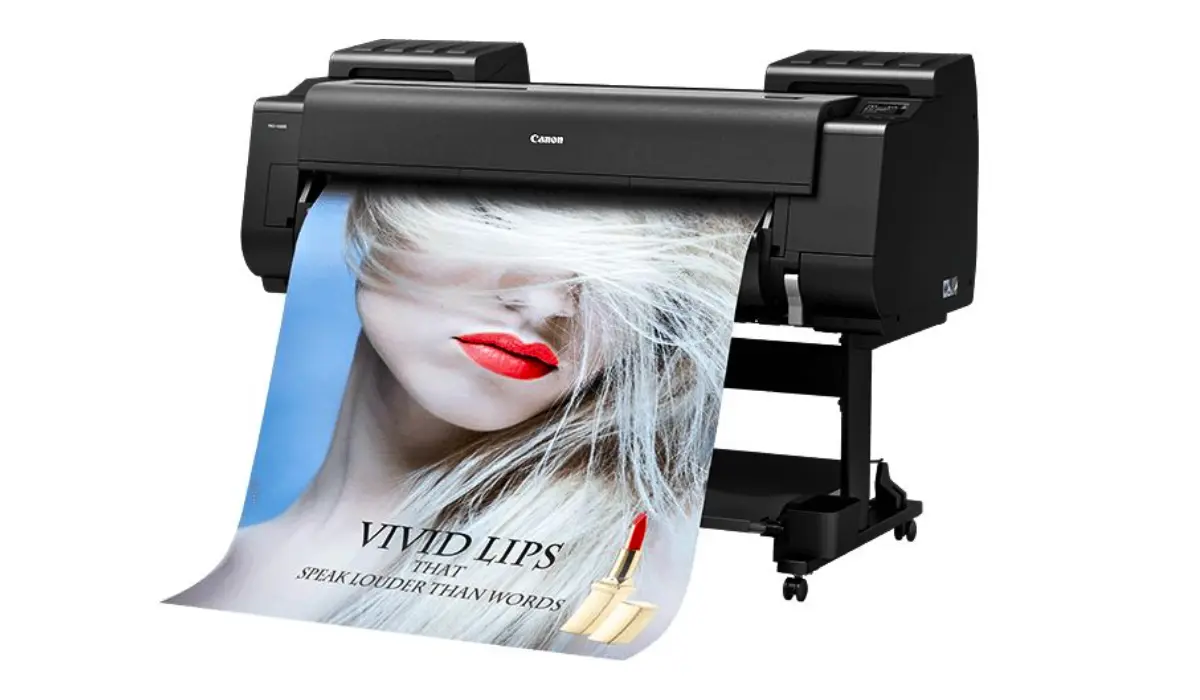
Large Format Printers are valuable assets for all types of printing facilities, design businesses, engineering firms, and advertising agencies that require high-quality printing at scale while ensuring accuracy each time a job is printed. These types of printers are commonly used for creating large, colorful posters, architectural plans, or high-quality photographic prints. Yet, for large-format printers to operate correctly, they must be set up properly, and this is where setup guides for large format printers play an important role. Setup instructions assist users in achieving optimal results from their large-format printers; setting up your large-format printer correctly will help to minimize the number of common problems that occur with improper printer setups, such as paper misalignment, color inconsistencies, ink waste, and increased downtime.
Many users do not realize how much of an impact initial setups will have on a large-format printer’s long-term efficiency and print quality. This article will discuss each step in the setup process, from preparing the work area to setting up the software application and calibrating the media used for printing. Users will be able to follow each step of the setup process in an organized manner and be able to reference any recommendations given by manufacturers when setting up their printers; as a result, users will be able to use their printers successfully from day one and have confidence that their printers will continue to produce professional-quality printed products consistently over time.
Understanding Large Format Printer Setup Requirements
Compared to conventional printing equipment, large format printer systems are substantially larger, more functional, and have much different operational requirements. Before any installation occurs, it is critical to thoroughly understand the requirements specified by the manufacturer before you begin installation.
Large-format printers require a sufficient amount of floor space and must be positioned in a properly stable manner with suitable environmental conditions in order for these systems to perform effectively.
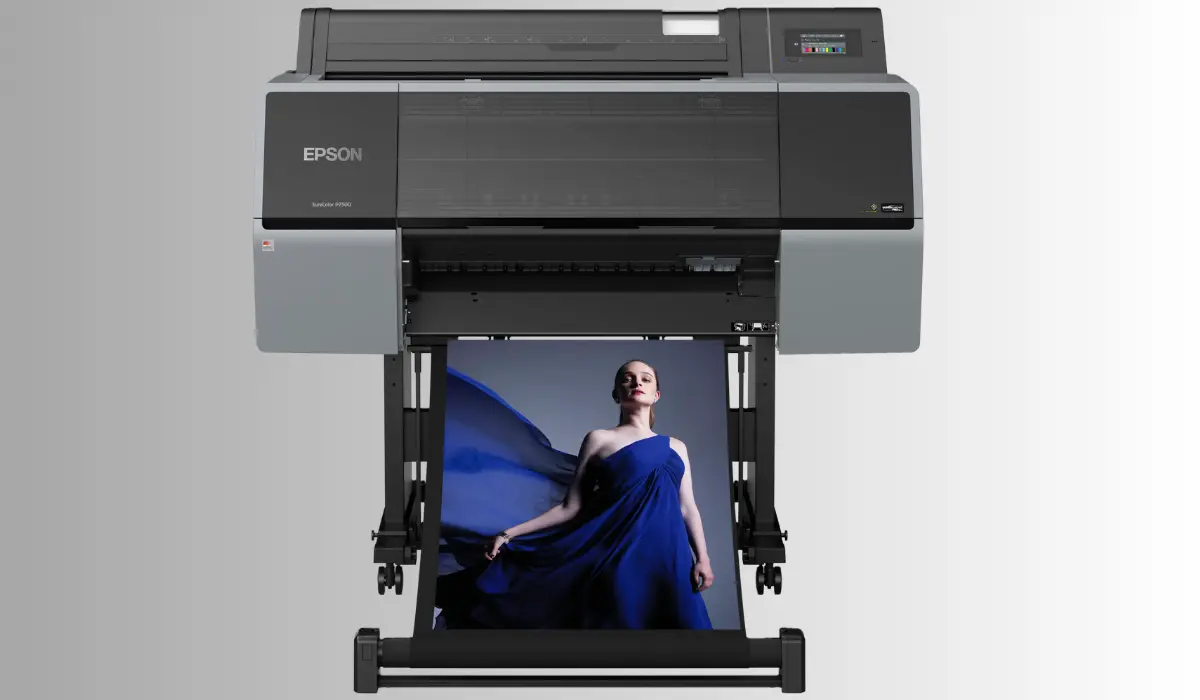
Environmental factors such as temperature, humidity, and airflow all affect the behaviour of ink and the way media is handled. Canon and Epson both have a strong emphasis on the necessity of controlling environmental conditions so as to provide consistent print quality and longevity of the printer. If you do not provide the appropriate conditions to the printer, you will likely see an increase in print failures and drops in print quality over time.
Preparing the Installation Area
When adequately prepared, the installation site helps ensure that your complete system setup process is smoother and safer. Large-format printers are relatively heavy, so it may take two or more people to properly place the printer. The floor must also be level and capable of supporting the weight of the printer.
Having adequate clearance around the printer provides easy access for loading media, maintaining the system, troubleshooting, and accessing electrical power. Another important factor of having sufficient clearance around the printer is that an unreliable power supply can disrupt production during printing.
Positioning the printer away from dust, moisture, and direct sunlight will help keep its internal components protected and provide you with consistent output quality.
Unboxing and Hardware Assembly
Always be careful of how you unbox and follow the steps that the manufacturer has provided for you. Most large-format printers utilize packing and protective materials that help prevent damage while being shipped, and if these materials are not removed correctly, it could lead to issues with the mechanical parts or alignment, or both.
Users may need to install printer stands, output baskets, or roll holders (if the model you have requires one) during the hardware installation/process. After removing the printer from its crate, you need to remove all shipping locks, tape, and covers before powering on your large-format printer. One of the biggest causes of setup issues is when something gets left on during shipping.
Initial Power-On and System Checks
During power-on initialization, internal tests are performed to make sure that motors, sensors, and the ink delivery systems are operating properly. You will be instructed how to insert the ink cartridges, after which you will allow the printer to fill the ink system. It may take some time for this to happen, so do not interrupt the filling of the ink system. If you interrupt the filling of the ink system, it may allow air to enter the ink lines, resulting in poor print quality. Being patient during the ink-filling process will help you create a stable and dependable base for printing.
Software Installation and Driver Configuration
The setup of software is equally important to hardware. To do that, proper installation of printer drivers, firmware updates & other utility tools is needed on all devices connected to a printer. Large format printers have guides giving detailed instructions for driver installation & for setting up networks. If you are in a shared work environment, the setup of the network allows multiple users to access one printer properly. Both Canon & Epson offer dedicated software tools to help users to manage print queues, check ink levels & perform routine maintenance. Additionally, keeping your firmware up to date will also enhance your performance and compatibility with your design applications.
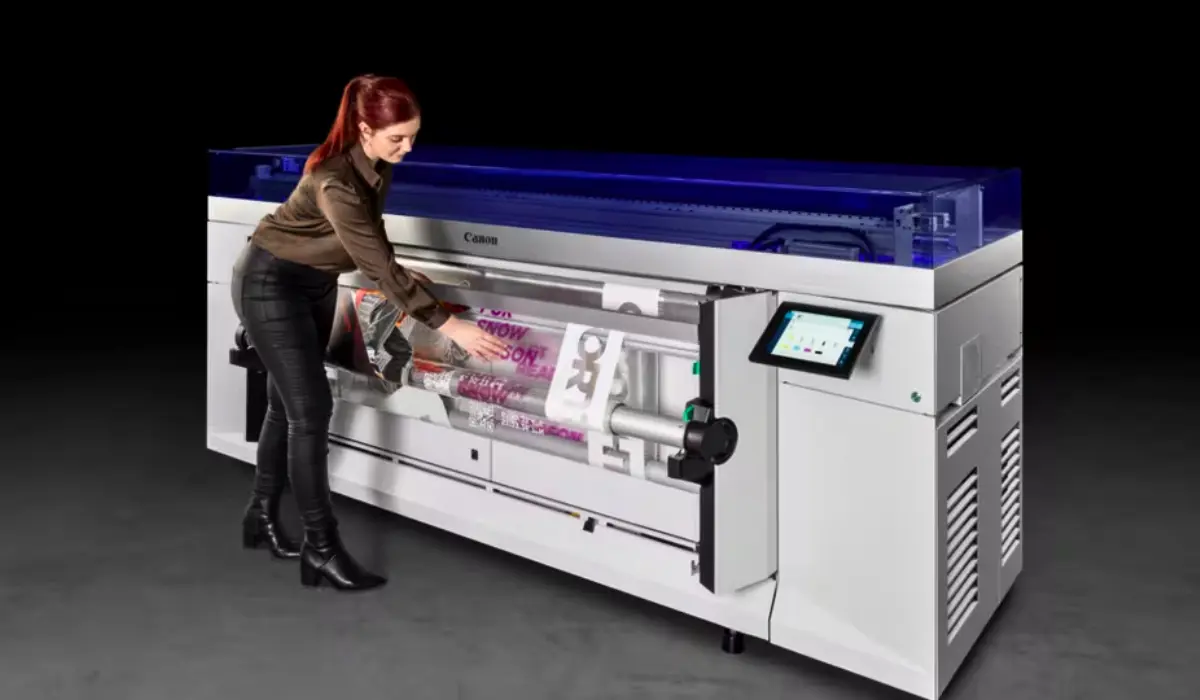
Media Loading and Calibration
Properly loading media into your large-format printer is important for providing you with quality prints/trade show displays and for providing consistent results from the printer. Each of the different types of media that can be printed on using large format printers (such as rolls, sheets, canvas, and specialty) requires its own media loading methods and printer settings.
Proper selection of the correct media profile for a given media type will help ensure that you feed the media correctly into the printer and avoid jams and skewed prints. Final calibration steps, including head alignment and color calibration, will help to obtain the same results for different media, especially in color-critical applications (such as photography and graphic design).
Essential Setup Steps You Should Never Skip
Following a structured approach during setup minimizes errors and improves efficiency.
- Confirm environmental and power requirements before installation.
- Follow the recommended unboxing and assembly sequence.
- Allow the printer to complete ink charging without interruption.
- Install official drivers and firmware updates.
- Perform media loading checks and color calibration before production use.
Common Setup Mistakes and How to Avoid Them
Common errors occur when people do not take their time with the initial printer installation process, as well as problems sometimes arising from simply skipping some of the basic steps. Examples of common errors include locating your printer in an unsuitable environment, failing to update your firmware, or using the wrong type of media and/or media settings. All of these errors typically result in banding, uneven colours, or an increased incidence of repeat paper jams. Reviewing the user manual and following the official setup documentation on the manufacturer’s website can help eliminate these situations. If you are unsure, contacting one’s manufacturer’s representative or dealers can often reduce time lost due to not following proper setup procedures, and also reduce any potential future problems.
Optimizing Performance After Setup
Once the printer has been set up, adjusting various printer settings can greatly improve the amount of output produced by that printer. These settings include resolution, print speed, and workflow preferences (i.e., how quickly you can print without waiting) and will allow you to produce the best possible quality of output for your projects.
Routine maintenance (such as checking for clogged nozzles, head cleaning, and software updates) will help ensure you get the highest efficiency from your printer. By developing a regular maintenance schedule, you’ll be able to provide consistent results from your printer and extend its lifespan.
Conclusion: Why Proper Setup Matters
Reliable and high-quality printed products begin with a successful printer installation. Setup guides for Large Format Printers will give users an opportunity to reduce downtime, increase the number of prints, and provide a professional quality print from the beginning.
By preparing a workspace and correctly assembling the printer hardware, installing the appropriate software, and accurately calibrating media, a company will receive maximum value for its investment in a printer. As you install Canon or Epson Large Format Printers, using a structured and thoughtful process will provide for smooth operation, consistency in results, and confidence in your future prints with these printers.