How to Install a Canon Ink Tank Printer? Quick Steps
When buying a new printer, the instructions can occasionally feel daunting if you are not especially comfortable with technology. Alleviating some of that stress, Canon ink tank printers are much easier to set up than one might think. Canon’s design for the ink tank printers is focused on easy usability, low-effort functionality, and at-home or small office usage. Getting to understand the setup process is going to save you time – and make it much easier to get your printer to function from the beginning.
If you are asking yourself how to install a Canon ink tank printer, the information presented here is laid out in a logical way that will be easy to follow. It starts with taking the printer out of the box, and goes all the way through the process of connecting the printer to your computer or your wi-fi. Each step is laid out to help you to get the printer prepared without panic.
Getting Started with Installation
Before we get started, you must get everything ready and check the printer components because it is usually faster and less error-prone when everything is properly organized. Set the printer near a power outlet, and make sure your Wi-Fi router or computer is available.
Unboxing and Getting the Printer Ready
The first step is carefully unboxing the Canon ink tank printer. Remove all packing material, tapes, and covers from the outside of the printer and from the inside. Make sure to check the scanner bed and paper trays for any packing that may be hidden. When the printer is completely unboxed, put it in an upright position on a stable surface.
Filling the Ink Tanks
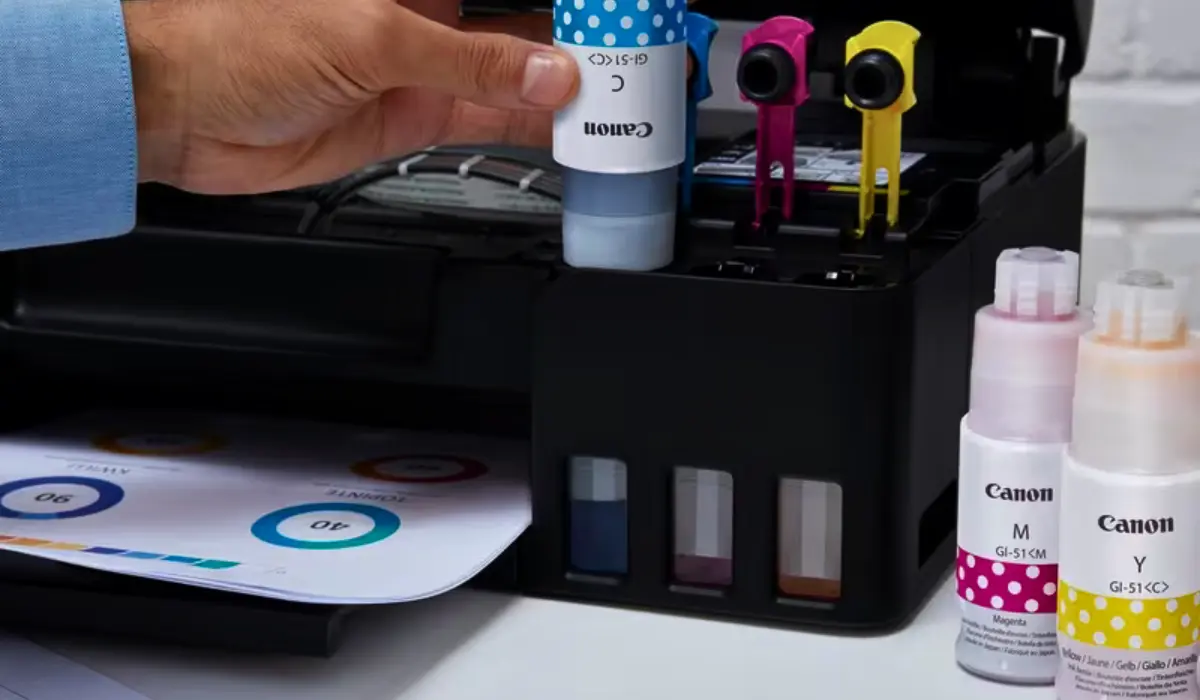
In ink tank printers, Canon provided refillable ink bottles to replace cartridges. Replace the ink tanks by opening the lids on each of the tanks and carefully filling them with the supplied ink bottles. Each bottle is designed to fit only the intended tank, so it is less likely that you will put the wrong color in the wrong tank. When the tanks are filled, close the lids properly.
Connecting to Power
Once you have prepared the printer, plug it into a power source, and press the power button. The printer will start an initial setup process automatically. Depending upon your model, a language and/or region selection may be requested on the display panel.
Setting Up for Printing
Once you have powered on the printer, you will need to set your printer up for printing, which includes loading paper, installing drivers, and connecting your printer to your network (if applicable), which ensures that your printer transfers the print jobs correctly to your computer or mobile device.
Loading Paper
Load plain A4 sheets into the paper tray. Adjust the paper guides so that the sheets neatly fit without bending. When using the correct kind of paper, this improves the accuracy of your printer’s test print later.
Installing Drivers & Software
The drivers are the things that allow communication to your printer and computer. Use the installation CD that came with your printer if you are not installing online. The drivers available online are often the latest and can be obtained directly from Canon’s website. When installing online, you will always have the most up-to-date driver, and one that is compatible with your operating system.
Selecting a Type of Connection
When installing your drivers, you will be prompted whether you want to connect your printer using a USB or Wi-Fi connection. If you plan to print from more than one computer or device, Wi-Fi is more practical. If there is only one computer for your printer, A USB is the simplest and quickest form of installation.
Connecting to Wi-Fi
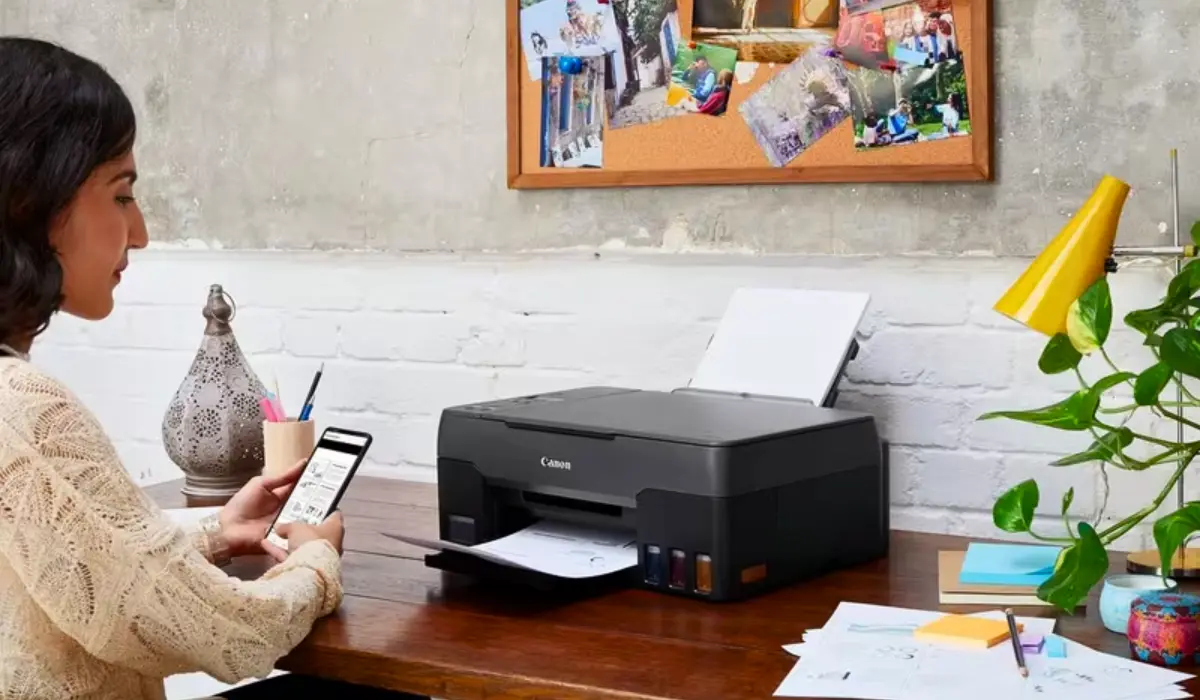
Wireless printing provides flexibility and ease of use. Connecting your Canon ink tank printer to Wi-Fi is as easy as following the steps below.
Turning on Wi-Fi Mode
Press and hold the Wi-Fi button on the printer until the light is blinking. The printer is ready to connect.
Finishing Wireless Setup
Once you are on your computer, continue with the driver setup with the printer and choose “Wireless Setup.” Choose the Wi-Fi network from the list and enter the password. Once your computer and printer establish a connection, the Wi-Fi light on your printer will stop blinking and be steady.
Test the Connection
Print a sample document to make sure the connection is working. If your print quality is not good, run the printhead cleaning cycle (through the software).
Tips and Troubleshooting
To make sure your installation goes smoothly, follow a few best practices and avoid common mistakes.
Helpful Tips
- Always use genuine Canon ink bottles for the best performance.
- Keep the printer in a clean, dry place to extend its life.
- Update drivers regularly for compatibility with system updates.
Common Errors to Avoid
Some users forget to remove the packaging materials, which leads to jams in printed pages. Some printer users do not follow the installation and just plug and play by assuming the driver will automatically install, which leads to failed print jobs until they finally redownload the driver. Do not use third-party inks; it could damage the printhead of the printer and compromise print quality.
Conclusion
Setting up a Canon printer can feel a little bit daunting when you’re first trying to set it up; however, if you follow the steps as highlighted in this guide, it should be simple. The process starts with getting the device out of the box, filling the ink tanks, installing the drivers, and connecting the printer to your wireless network. All of the steps help to ensure your printer is functioning well. By taking your time, you’ll set the printer up just right so you won’t ignore future issues and will get many years of performance from your Canon printer.
If you were looking to find out how to install a Canon ink tank printer, I hope this guide has provided you with a clear and simple set of steps to follow for both new users and experienced users alike. As long as you install your Canon ink tank printer correctly, you’ll have many years of quality printing from your printer.